Inovative Voyager 36" Cart

My work tends to have me traveling quite a bit, and a good portion by plane. I've got camera department buddies who usually work in the same city — or at least their home state — and are in a good position to work out of their cars or production vehicles. Meanwhile, the clients I've gotten to work with over the years normally have me out in other places.

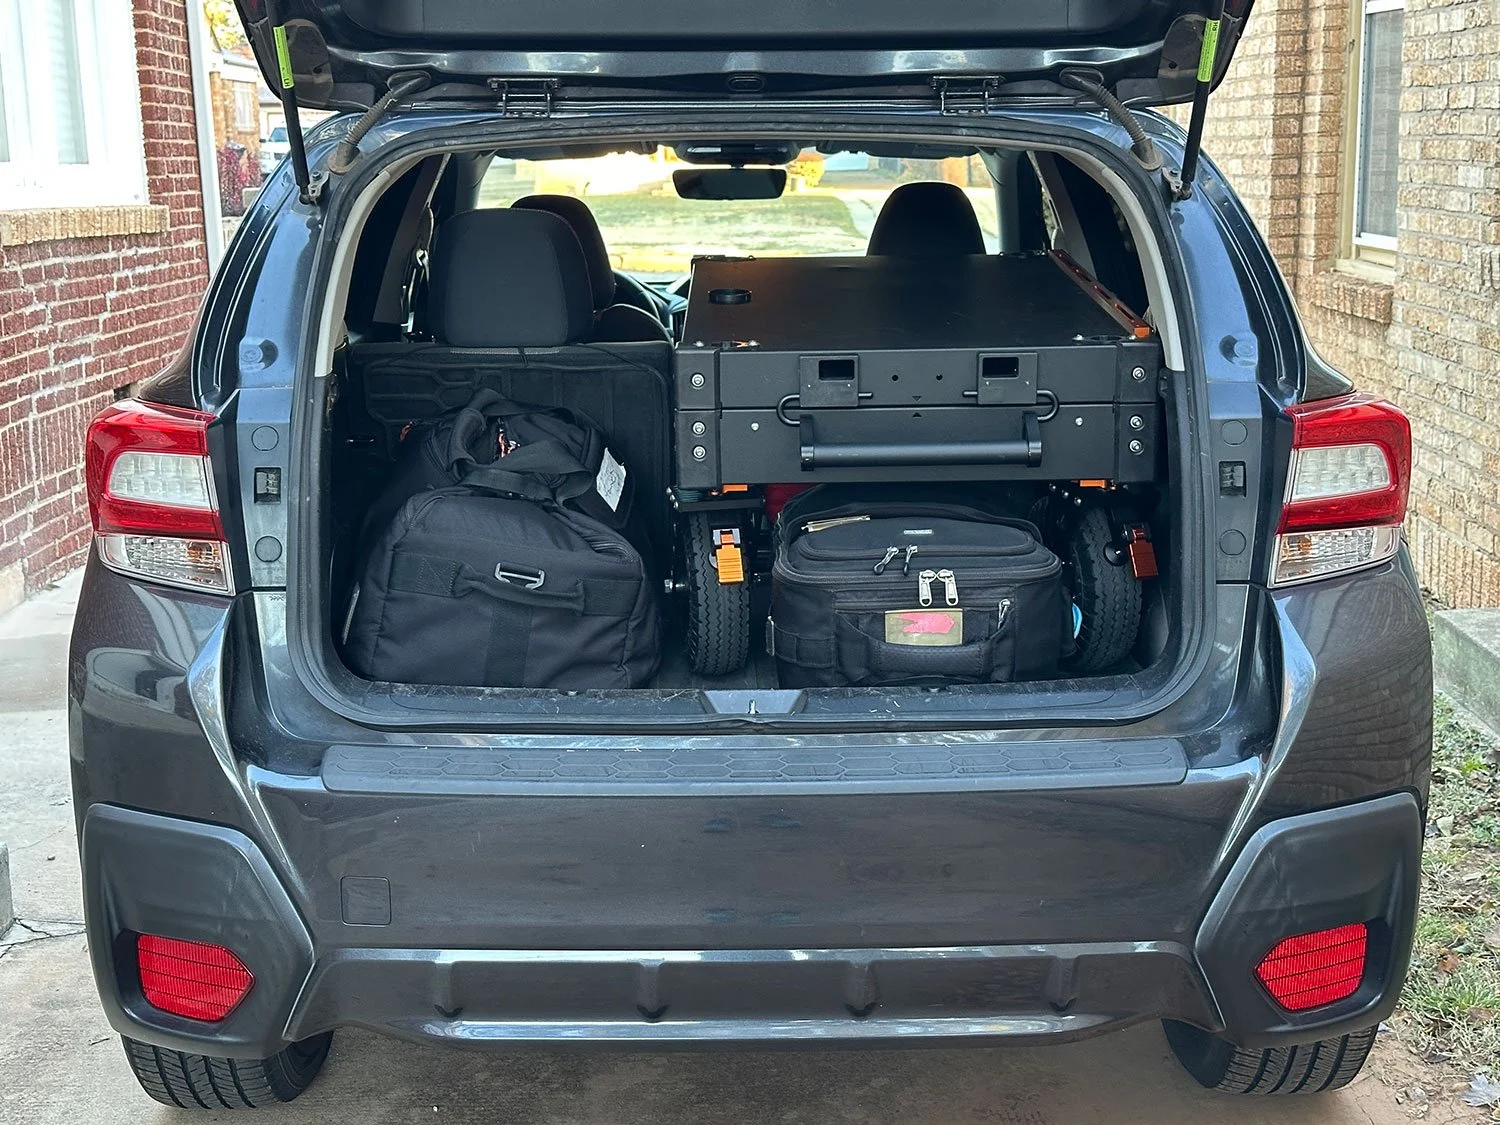
If I've driven to wherever the work is, I've got a decent system of working out of my car on location. My Subaru Crosstrek has enough space to transport the gear I need. When I fly to a shoot, either the client picks me up or I rent a small to mid-sized SUV about the same size as my car. It's common too that I'll rent any additional gear I need online and have it shipped to a FedEx near the shoot or the hotel I'll be staying at.

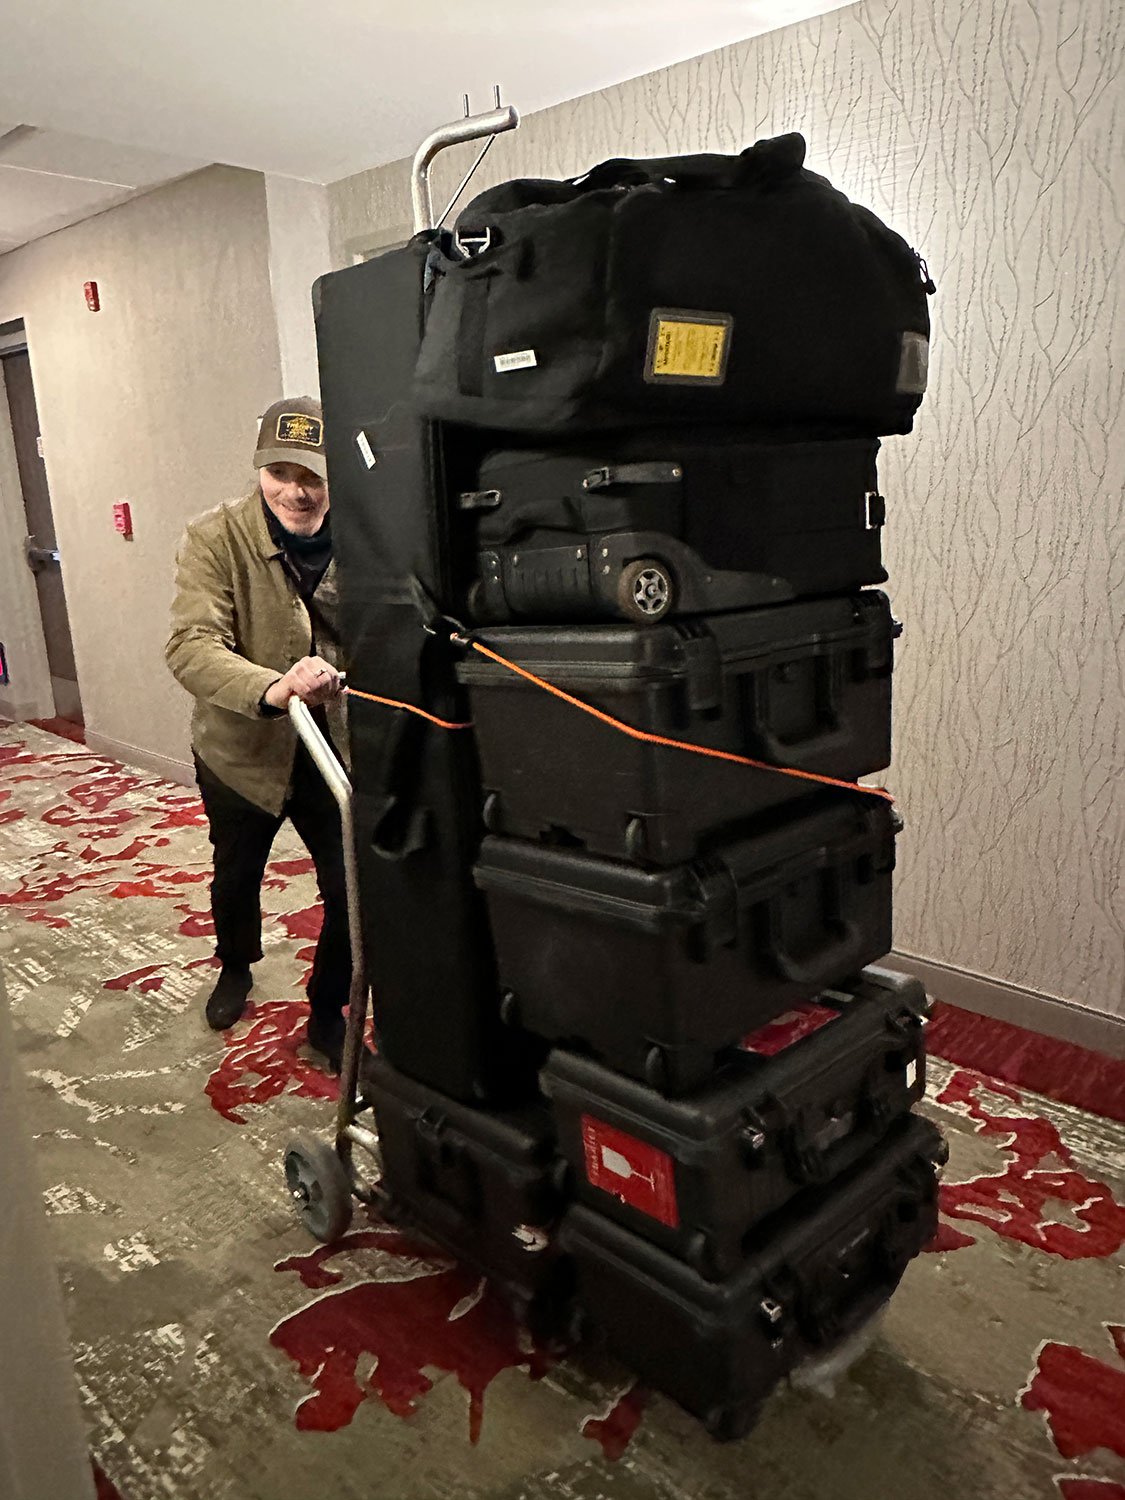
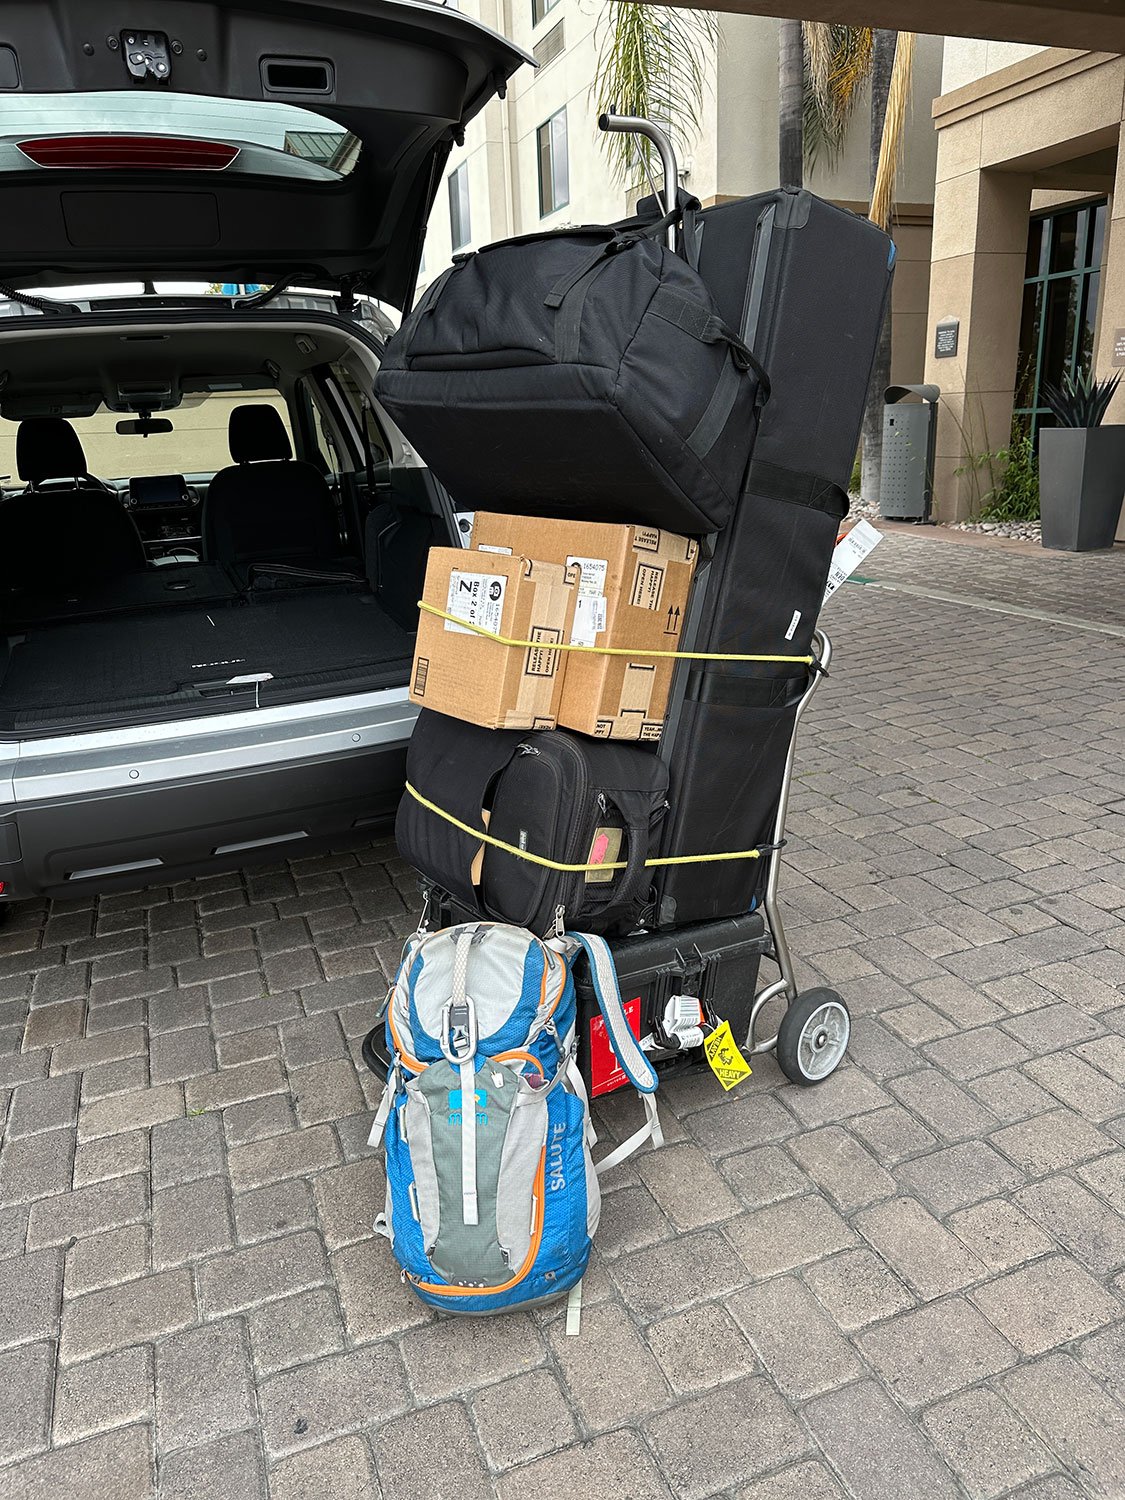
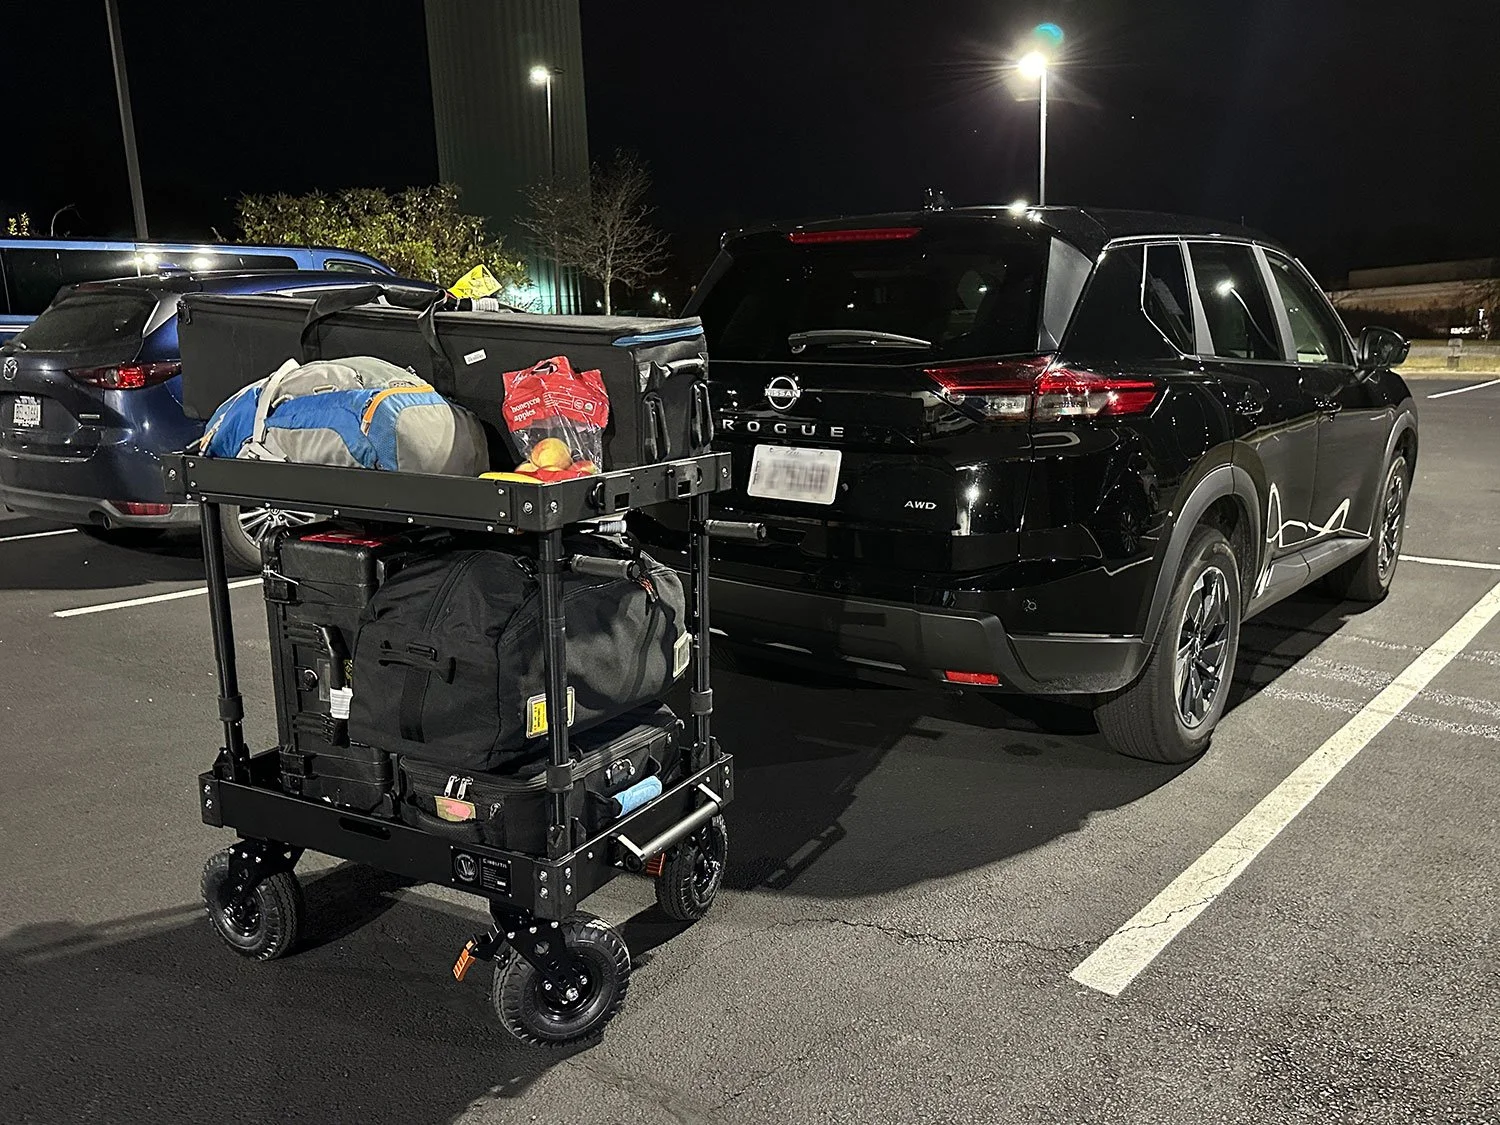
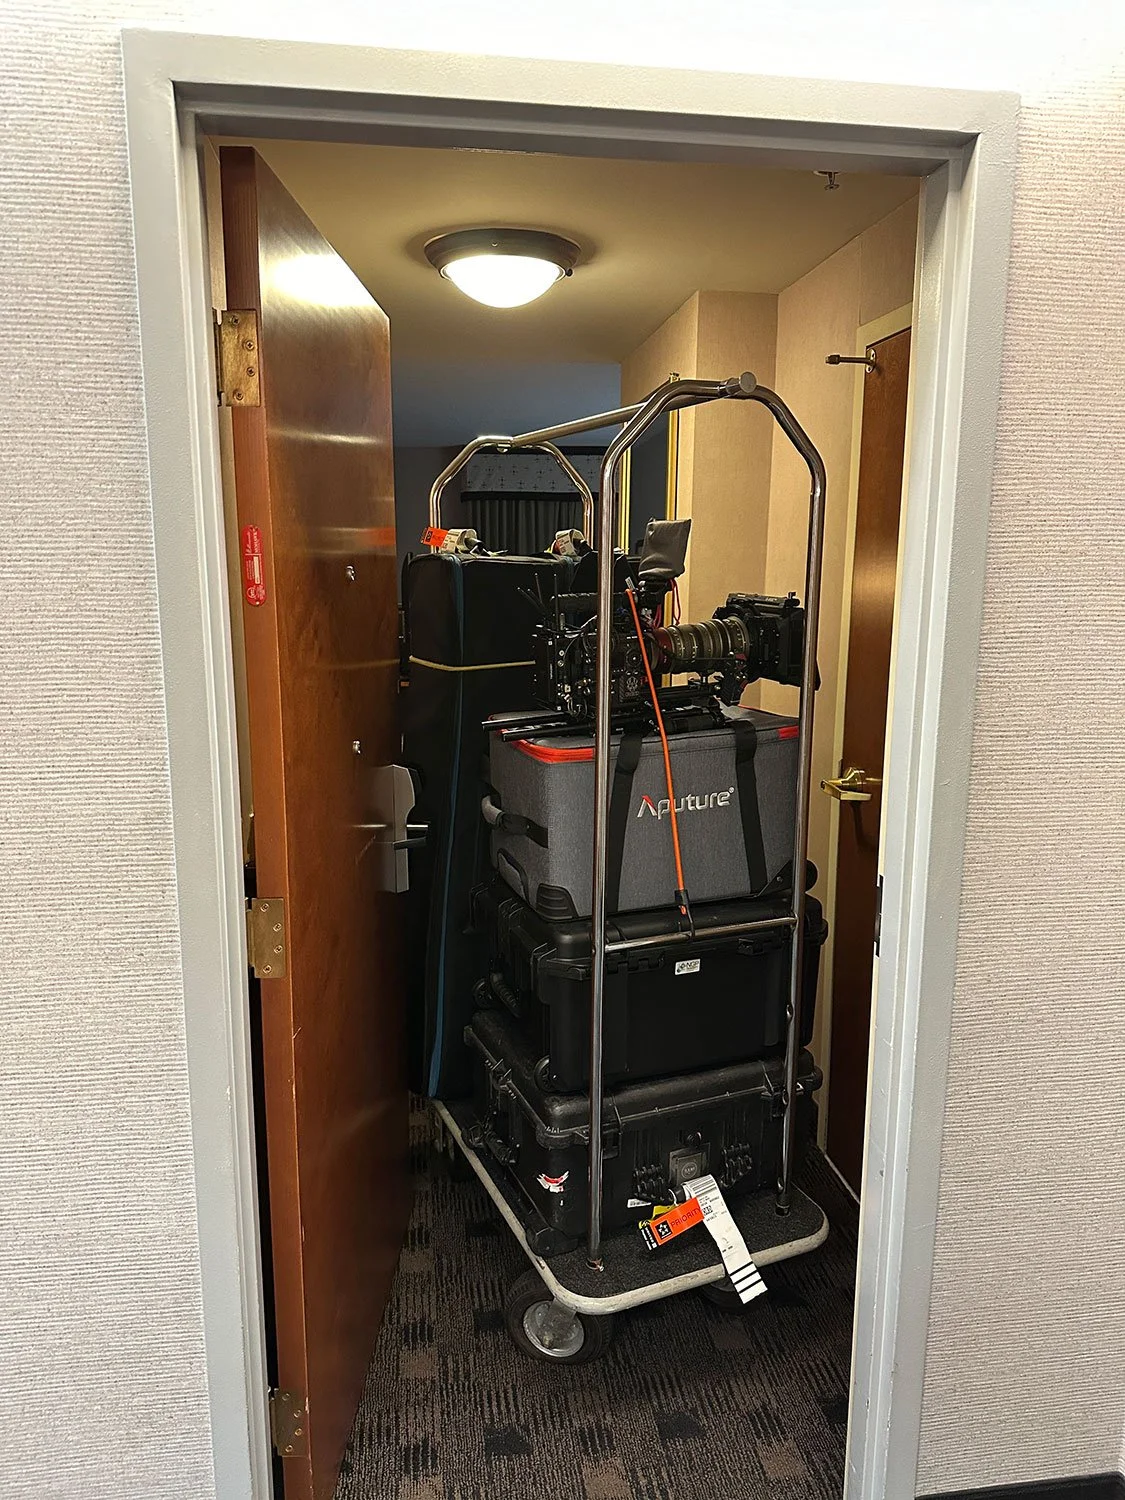
The real issue though comes down to getting my gear to and from the airport and car rental shop. Normally I drive to the airport instead of having someone drop me off. While regular business travelers fly with a carry-on and maybe a checked bag, I'm essentially carrying enough equipment for a small sports team. It's not uncommon for me to have a long case or two for my tripod, stands, and tube lights, a larger Pelican case for my camera AKS, an EasyRig case, and a lens case. For years I'd used a Rock-N-Roller Multicart for shoots in town, but never considered flying it knowing how luggage gets treated.

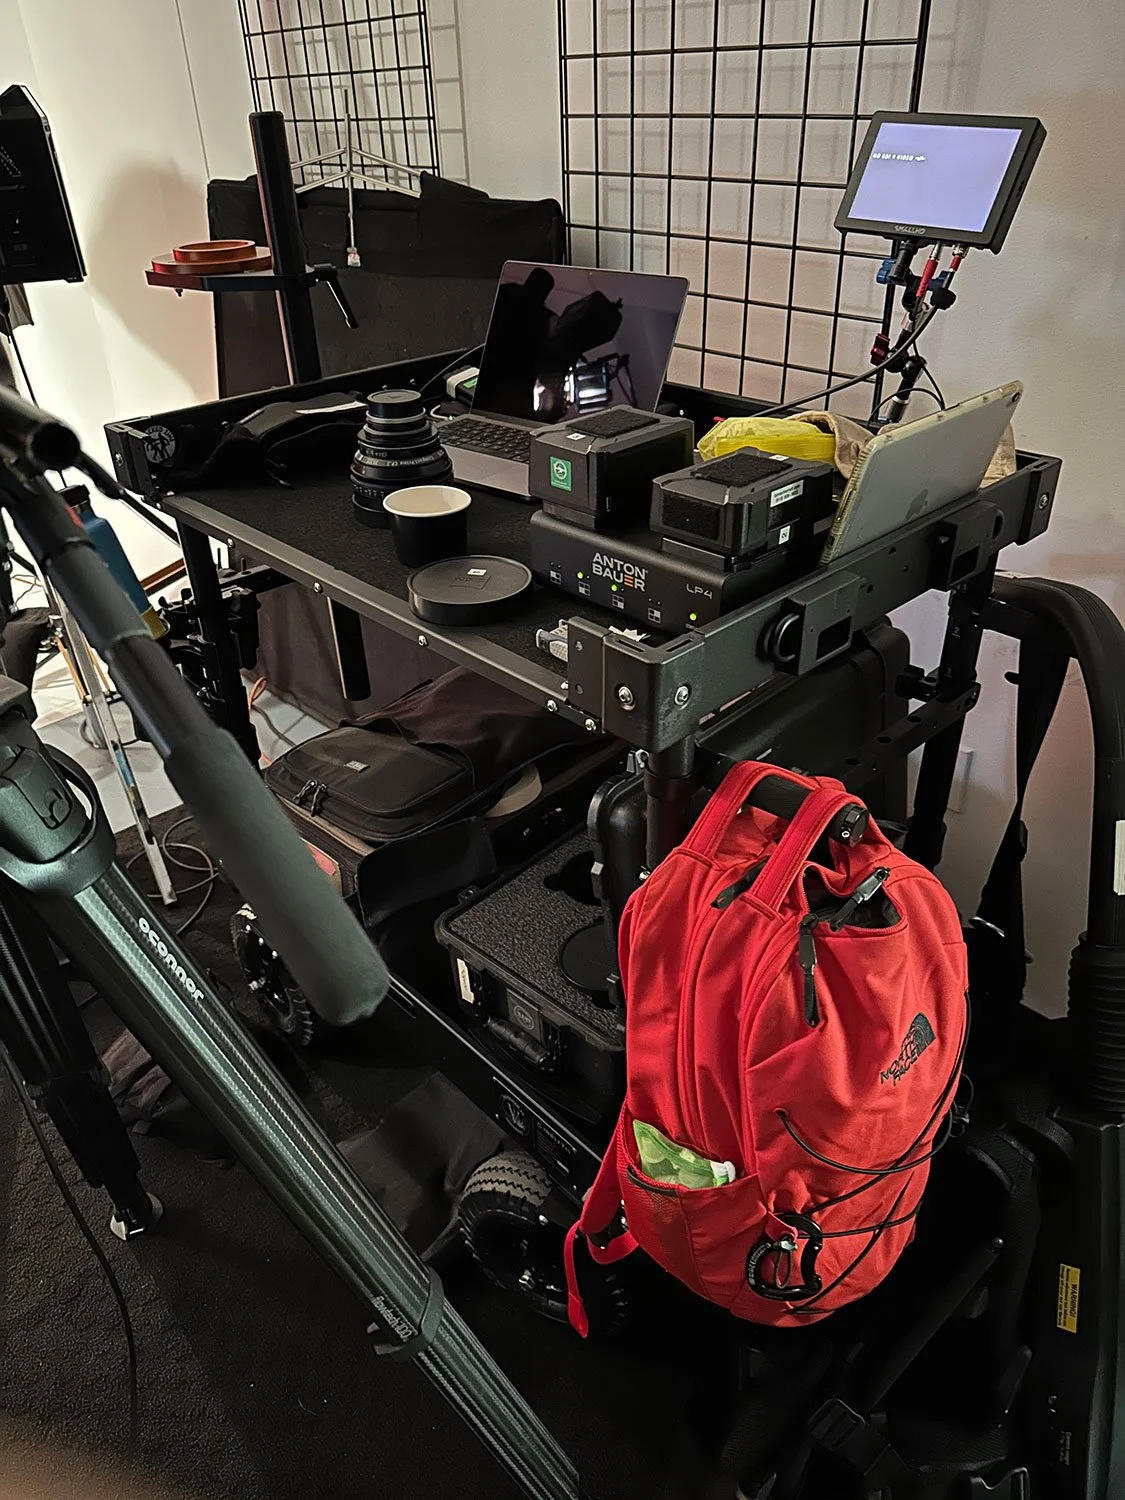
Earlier this year I had a shoot out in Indiana and travelled with an assistant. Thankfully we were able to get our rental SUV close to where we were filming and work out of it, but it was still a whole thing to get back to the car instead of just having a dedicated cart with us. We lucked out because the location had an extra Rubbermaid cart we could use. Just having a basic mobile workstation to keep lenses, batteries, and the other small nonsense I'm always needing nearby was incredibly helpful. I also used it as a simple DIT station to hold my laptop, hard drives, and card readers.

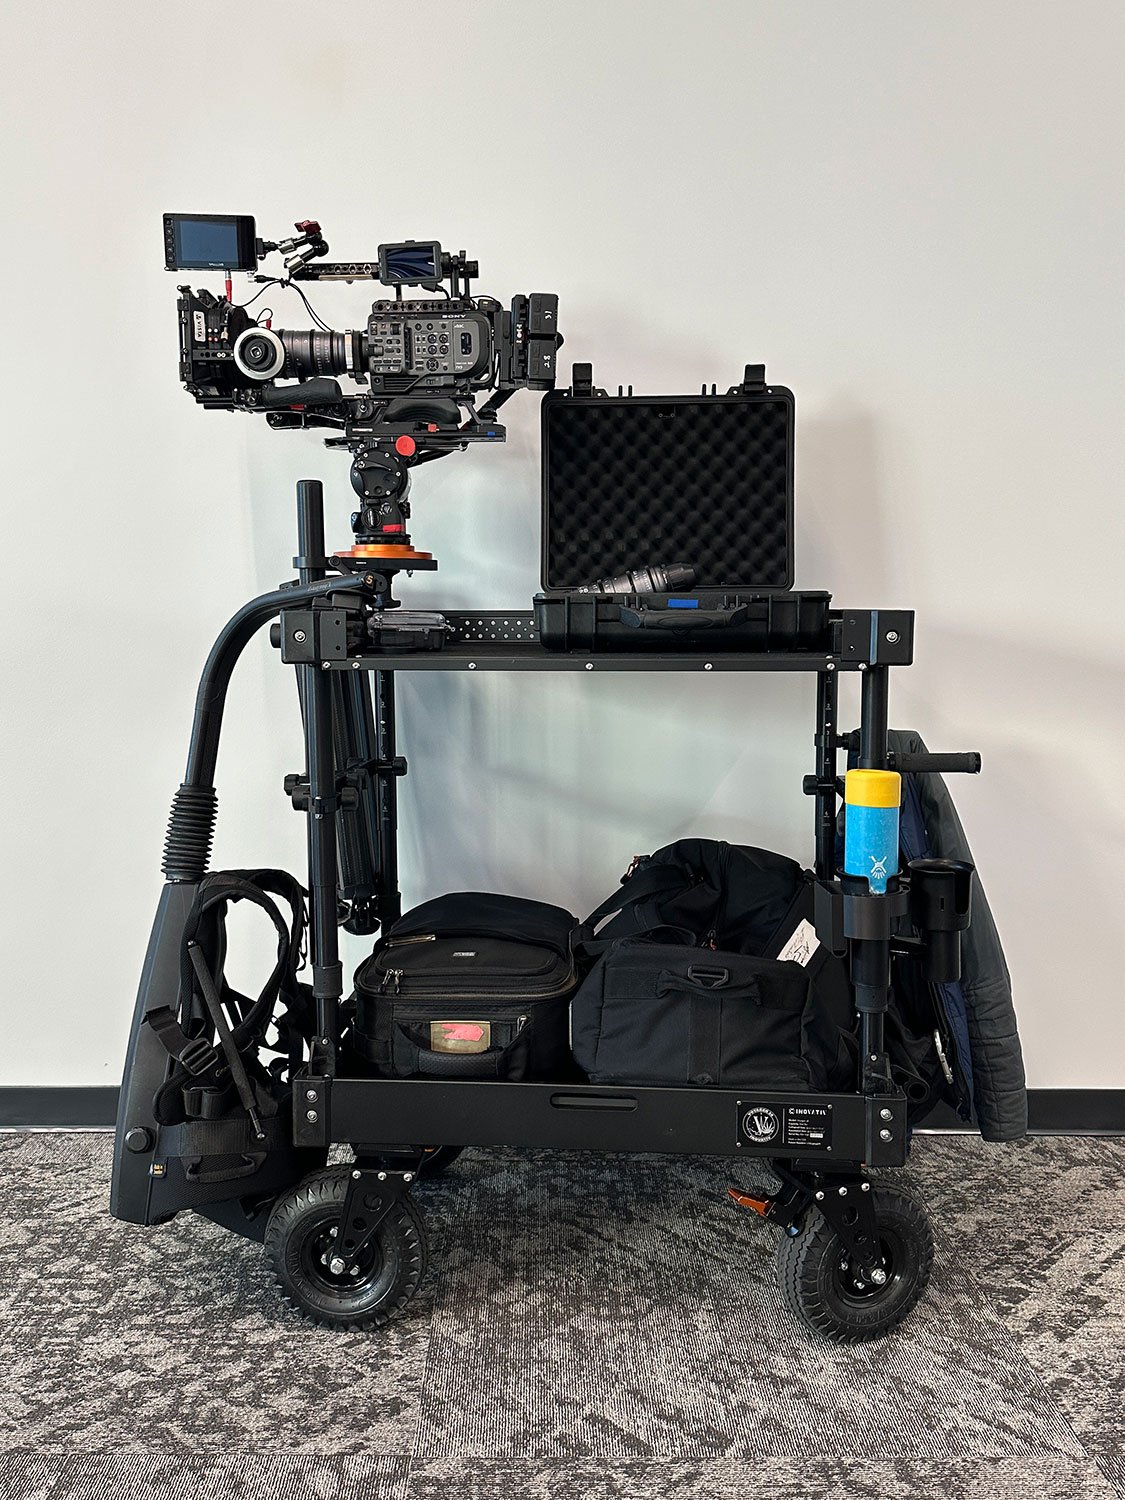
The next week I was on another shoot in Bentonville, AR, with DP Nathan Maulorico. Normally we'd just be using production's Magliner carts, but this time Nathan was shooting on his Steadicam and brought along his Inovativ Scout 37" cart. I'd seen plenty of Inovativ carts online and heard how great they were, but hadn't actually worked with one on set in a while. Within a month, I'd bought an Inovativ Voyager 36" cart and some accessories.

Photo via Inovativ.com

No question, these carts are expensive AF; that's what's kept me from buying one earlier. But in working with Nathan's cart and then my own, I wish I'd have bought one years ago.

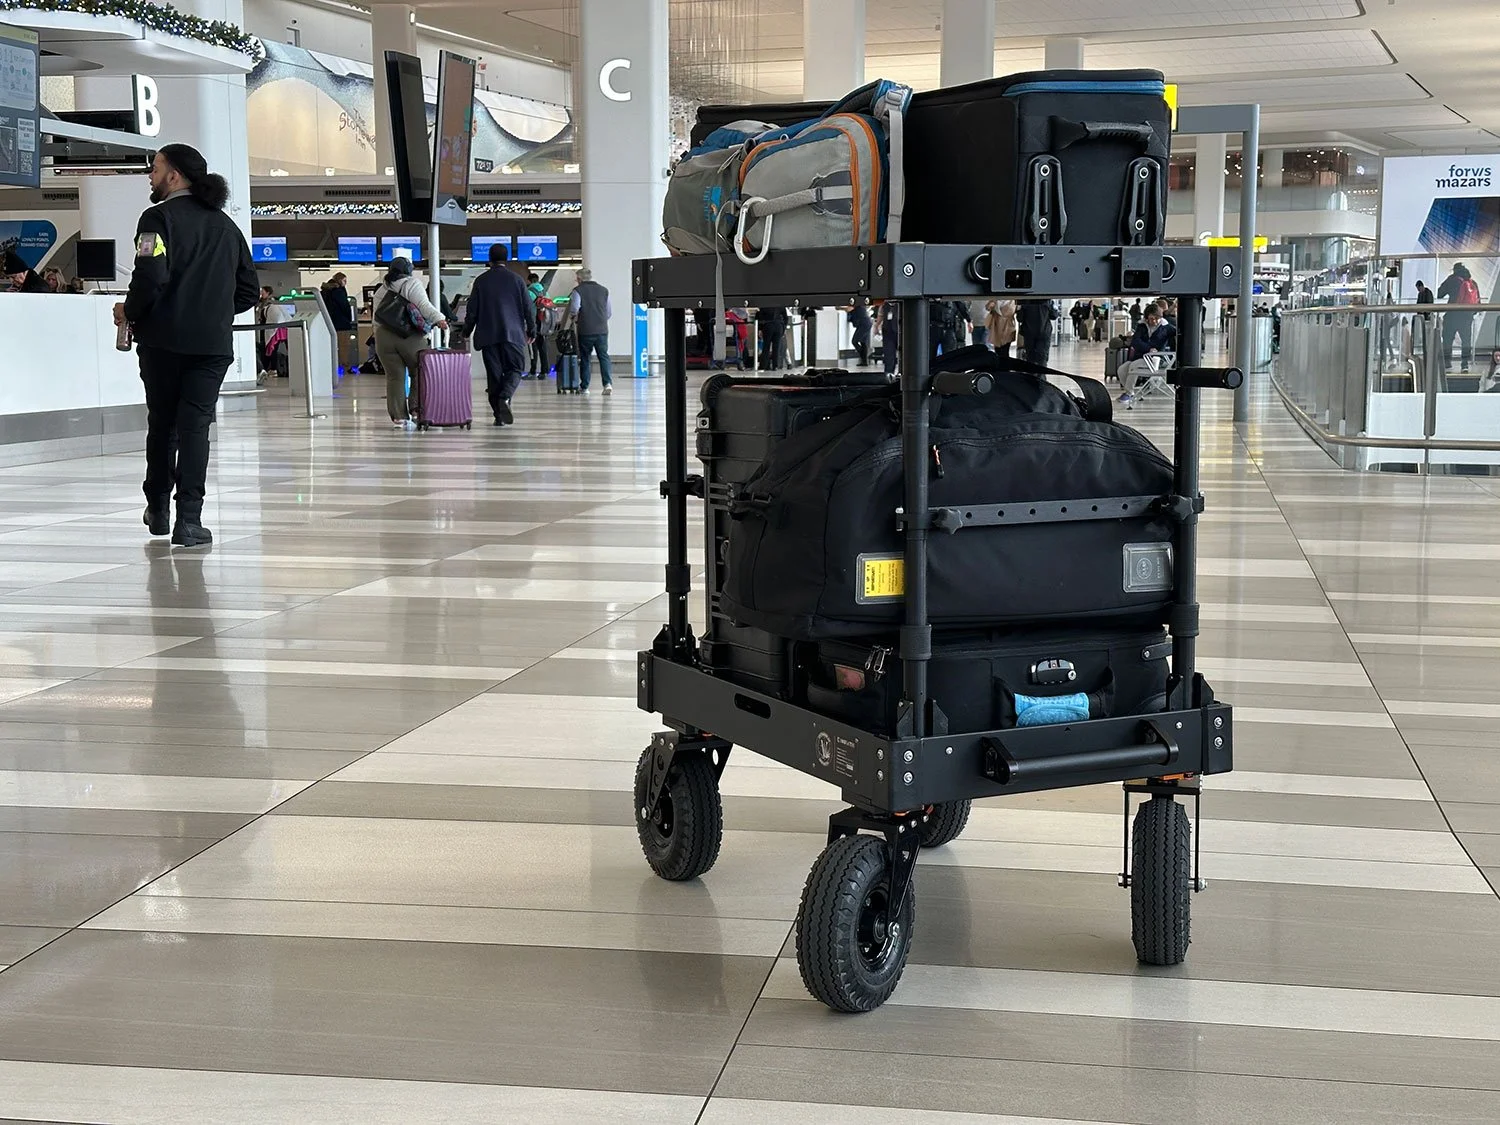
So far I've flown with it once and had two other out-of-town jobs where I traveled with it in a car. At first, I felt like an idiot setting it up in the airport parking lot, but I couldn't care less as soon as I had all my gear on it and started rolling it the nearly half-mile to the United Airlines gate to check-in. I had the same feeling when I got my luggage at the destination airport and rolled all my nonsense out of baggage claim. It's a thing too in getting gear up to a hotel room. Thankfully I've never had a vehicle get broken into and gear stolen, but I'm not taking unnecessary chances by leaving equipment in a car overnight. Hotels normally have luggage carts and I've done my fair share of dealing with that nonsense, but having my own cart makes things way easier.

Having and working with the cart on set is also freakin' fantastic. My $300 Rock-N-Roller has no doubt been great over the years, but I tended to overload it and always wished it had a top shelf to use as a workstation. They do make top shelves for those carts, but there's not an easy way to transport them. I'm still figuring out an on-set workflow, but this Inovativ cart has plenty of room to keep the gear I need close by and also act as a simple DIT and charging station. I also got the Camera Mount setup and just recently got the Baby Pin System to mount a DP/client monitor.


There are plenty of Pros to mention, but I do have a couple of Cons at this point.

COST

The sticker shock is real. I've still got some time left on my student discount at B&H Photo and was able to get 27% off the $4,000 cart. With the money I saved, I also got a couple of other accessories. A few of my production buddies highly recommended getting the travel case for it, especially considering how much I plan to fly with mine.

A DP I'd worked for years ago had an older Inovativ cart. It was incredibly helpful on set, but I don't remember it feeling super sturdy and it was a pain to set up. No clue which one it was, but it certainly didn't seem worth $4,000+. Seems like Inovativ has come a long way since that one. I feel like my cart is built like a tank and will stay working for a good while.

WEIGHT

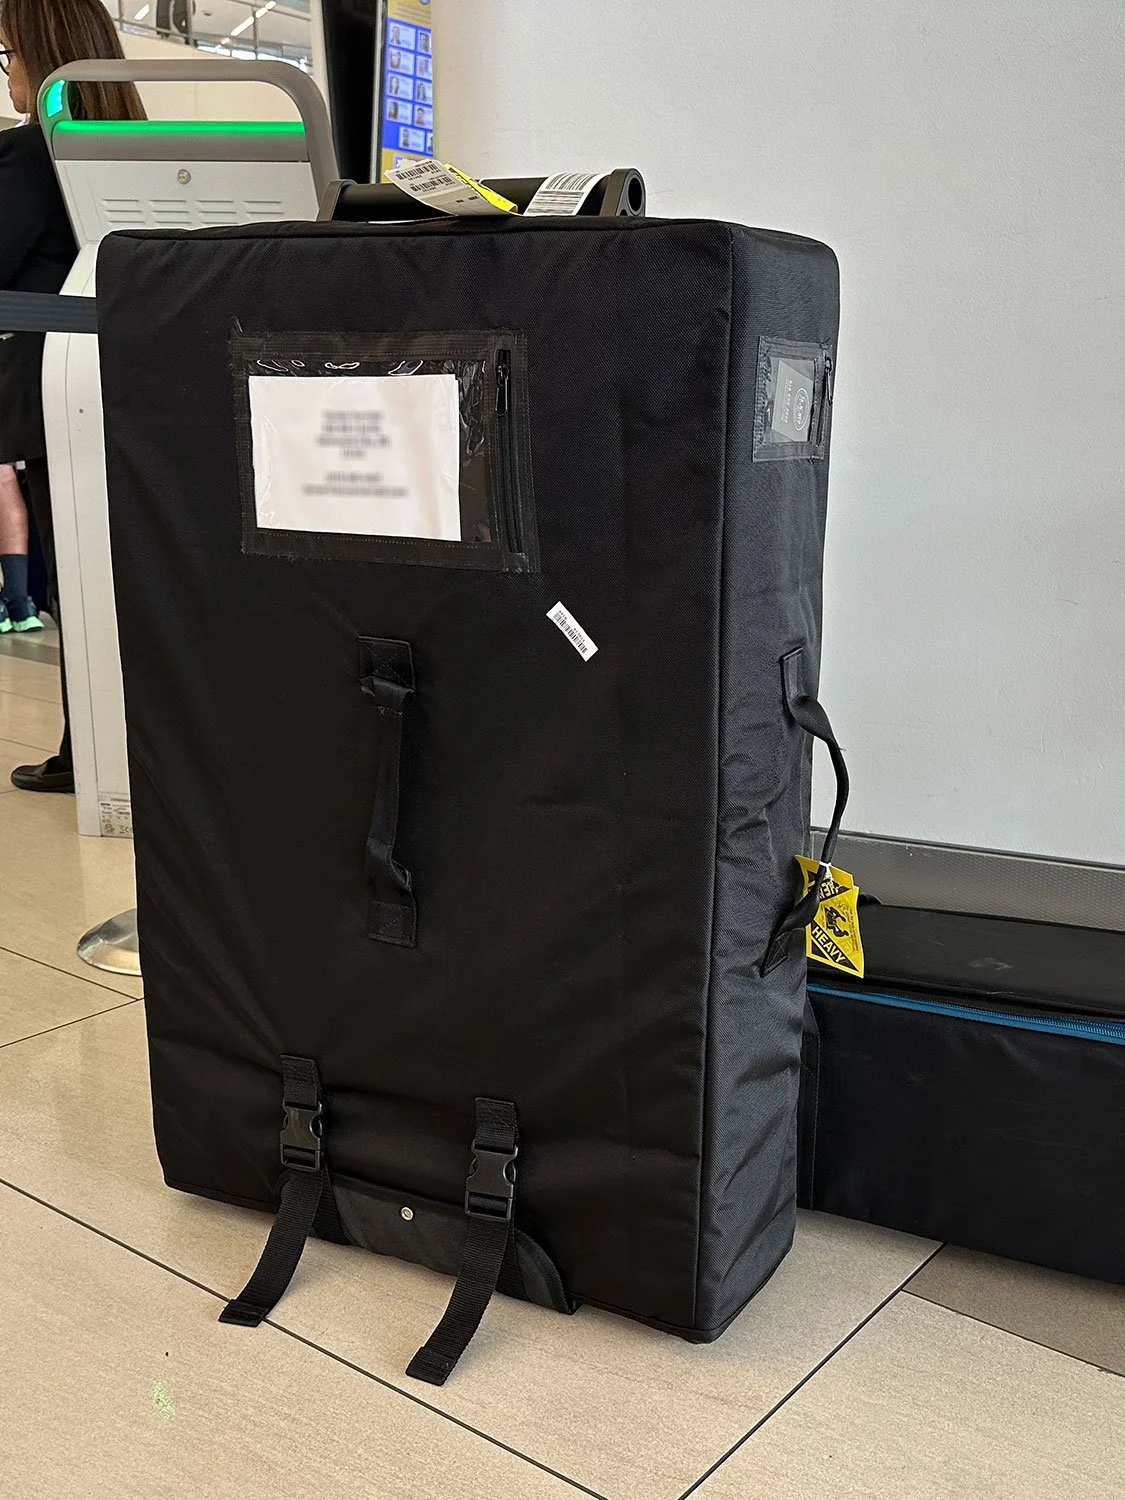
This cart is heavy AF. It's heavier than you'd think it'd be. On the B&H website, they've got it listed at 96 lbs, which is just shy of the 99.9 lbs United Media Bag limit. The carts are designed to collapse down and there's space to store the wheels inside.

It's terrifying to consider how luggage gets handled when you fly. For my first flight with the setup, I kept two wheels in the collapsed cart and wrapped them with a furniture pad; the other two were in my other checked cases. The thought was by lessening the weight and padding those stored wheels, hopefully, they'd keep from banging around and not dent the surface of the metal shelves as badly.

With shoots where I'm just traveling with it in the car, I've tended to keep the wheels on it unless I'm short on space. Considering the weight and size, it's kind of awkward to get in and out of a car by myself. Still, the benefits far outweigh the hassle.

So far I'm only a few jobs in with this cart and I couldn't be happier. Surely as I use it more I'll find something else to talk about. I'll let you know.

Oconnor 1040 Fluid Head & Flowtech 100 Tripod System

For this week's effort in procrastination, I'ma quickly talk about a piece of gear that'll help carry me through the next decade or so (it's a tripod pun).

The end of the year normally means offsetting the year's revenue for tax purposes with some gear purchases. Last week I mentioned the DJI Mavic 2 Pro and a few weeks before that the QNAP NAS setup. The big one for 2020 though was the OConnor 1040 Fluid Head & Flowtech 100 Tripod System. I say 2020, but it'll end up on 2021's tax nonsense due to AbelCine butchering the ordering process. I'm still a fan of AbelCine and how they do filmmaker community stuff, but good grief after this sour experience there are other places to buy gear.

Back when I still had a day job I'd purchased a Miller DS20 fluid head setup for what felt like all of the money. At the time I'm pretty sure it was close to what I was making each month. We're talking Panasonic DVX170 and EARLY DSLR days, but it was right on for the type of projects and cameras I was shooting on. Ten plus years and at least three to five camera packages later I've finally upgraded to a system that'll, well...hold my camera.

Seriously, super stoked about getting this fluid head and tripod. I'd been dreaming about one day owning its predecessor, the Oconnor 1030, since it came out back in 2011-ish(?), but fancy tripods aren't super sexy and with it being in the price range it is/was, the 1030 never made it to the top of my gear purchasing priorities. It'd made several appearances on projects with any kind of budget, but always got returned to the rental house afterwards. That freakin' fluid head got replaced in the time it took me to finally commit to the purchase.

I've not had it long enough to put it through its paces, but the first test run had me roaming around after dark in NYC's Chelsea neighborhood with a super scaled-down RED setup. That fancy new fluid head is heavy, but damn it's smooth AF. That beefy 1040 fluid head is tinier than its Oconnor siblings, but it's still close to a hearty 20 pounds with the Flowtech 100 carbon fiber legs. That's like three of my Miller DS20s I'm used to lugging around. I'll need to figure out a shoulder strap setup to help with the one-man-band nonsense I'm normally up to.

Once I got it back to Oklahoma City I figured out the rad counterbalance feature. I've shot on quite a few Oconnor heads but never knew how to legitimately balance one out. Those Flowtech legs too are something else. I've had carbon fiber tripod legs for years, but not having to bend down to near ground level to adjust the camera height will surely save my back. The whole magnetic closure feature seems like it should've happened years ago.

It's never about the gear, but it doesn't hurt when your equipment helps you do the thing. That poor Miller DS20 fluid head was showing its age after having been overloaded for years with my RED package and whatever nonsense I could add to it (teleprompters, sliders, multiple monitors, etc.). I wore the right side rosette smooth in adjusting the operator handle these last ten or so years. It's not like it'll get tossed with the week's trash or anything, but it may end up getting sent in for some much-needed servicing before transitioning to its B-cam package days.

Death from Above with the DJI Mavic 2 Pro

So drones, huh? Well, once again I'm no stranger to being late to the party. One, I don't like parties to begin with. Two, I'm still mentally recovering from that Kessler Cineslider purchase back in the early 2010s to go along with my Canon 7D that Phillip Bloom told me about. Speaking of good 'ol Phillip Bloom, this week I'm finally replacing my tried and true (but very past its prime) Miller DS20.

But back to that drone party thing.

Towards the end of last year, I caved and joined Team Drone. Over the years I've lost work because I'd not jumped on the bandwagon sooner, so after a few months of eye-balling a couple of different ones, I ended up buying a DJI Mavic 2 Pro at the closest BestBuy. I got home, unboxed that nonsense, and headed straight back to that BestBuy because the dude in the blue shirt and khaki pants didn't mention also needing to buy memory cards. I also bought an extra battery, another set of propellers, and a tacky carrying case out of spite. "That'll show 'em," said the guy who just spent even more money on a toy camera that flies through the air.

Oh, and a quick Google search pointed out that the Chinese dude behind DJI is about my age and is worth about a billion dollars more than me considering DJI has 70% of the consumer drone market. While he was building drone prototypes in his college dorm room, I was, well, not doing anything that cool or profitable.

Turns out those flying chainsaws are great and probably too easy to get into. Gravity always wins and I've already crashed a few times – the first one being pretty rough. Luckily that unplanned landing was easily fixed with a multitool. Thank goodness for muscle memory from all the mechanical nonsense I broke and tried to fix as a kid at my grandparents' place.

There's a 500+ page handbook of aviation goodness I've started reading in preparing for the Remote Pilot with a small Unmanned Aircraft Systems (sUAS) rating test. I'm already bulking up on my acronyms and learning about weather patterns, but I've yet to come across the sections on "Properly Filming Arial Footage to Effectively Open and Close Documentary Films" or "That One Shot Every YouTuber with a Drone Does."

Soon enough I'll be adding "Pilot" to my DP resume and wearing out Kenny Loggins' "Danger Zone" every time I unpack that remote-controlled widow maker from its tacky fanny pack of a case. I'm currently accepting call sign suggestions to embroider onto my bomber jacket.

All kidding aside there are steps I'll need to take to be doing this drone nonsense professionally and above board. For sure the FAA-Certified Drone Pilot test is on my short list of to-dos along with insuring this spinning plastic death from above for commercial use. I've had production insurance for years, but my insurer shot me down a few months ago when I reached out about covering drone use. There are other options, but I've not gotten there yet.

Phoenix and Red-Eye Flights

This week had me booked again with Running Robot to shoot out on their home turf in Phoenix, AZ. Being used to flying out of Oklahoma City all these years, it was a bit of a hike from New York to that part of the country. Flying out Wednesday afternoon got me there in time to get to sleep that night, pick up rental gear the next morning, the actual shoot, return rental gear, and then race back to the airport for a red-eye flight back to NYC Thursday night.

Big fan of LensRentals and how easy they make shipping across the country. For this trip, it was easier to rent and ship a similar tripod to a local FedEx vs. me traveling with mine. For grip and electric, I connected with MP&E Equipment Rental out in Scottsdale. They're 30-40 minutes outside of Phoenix but the scenery was worth the drive.

Speaking of Scottsdale, Chris Fenner – a solid Instagram follow and car enthusiast – introduced me to Four Coffee and their rubber stamps. Have I mentioned I've got a mild obsession with collecting rubber stamps from coffee shops? It's a thing and filling up my notebooks...

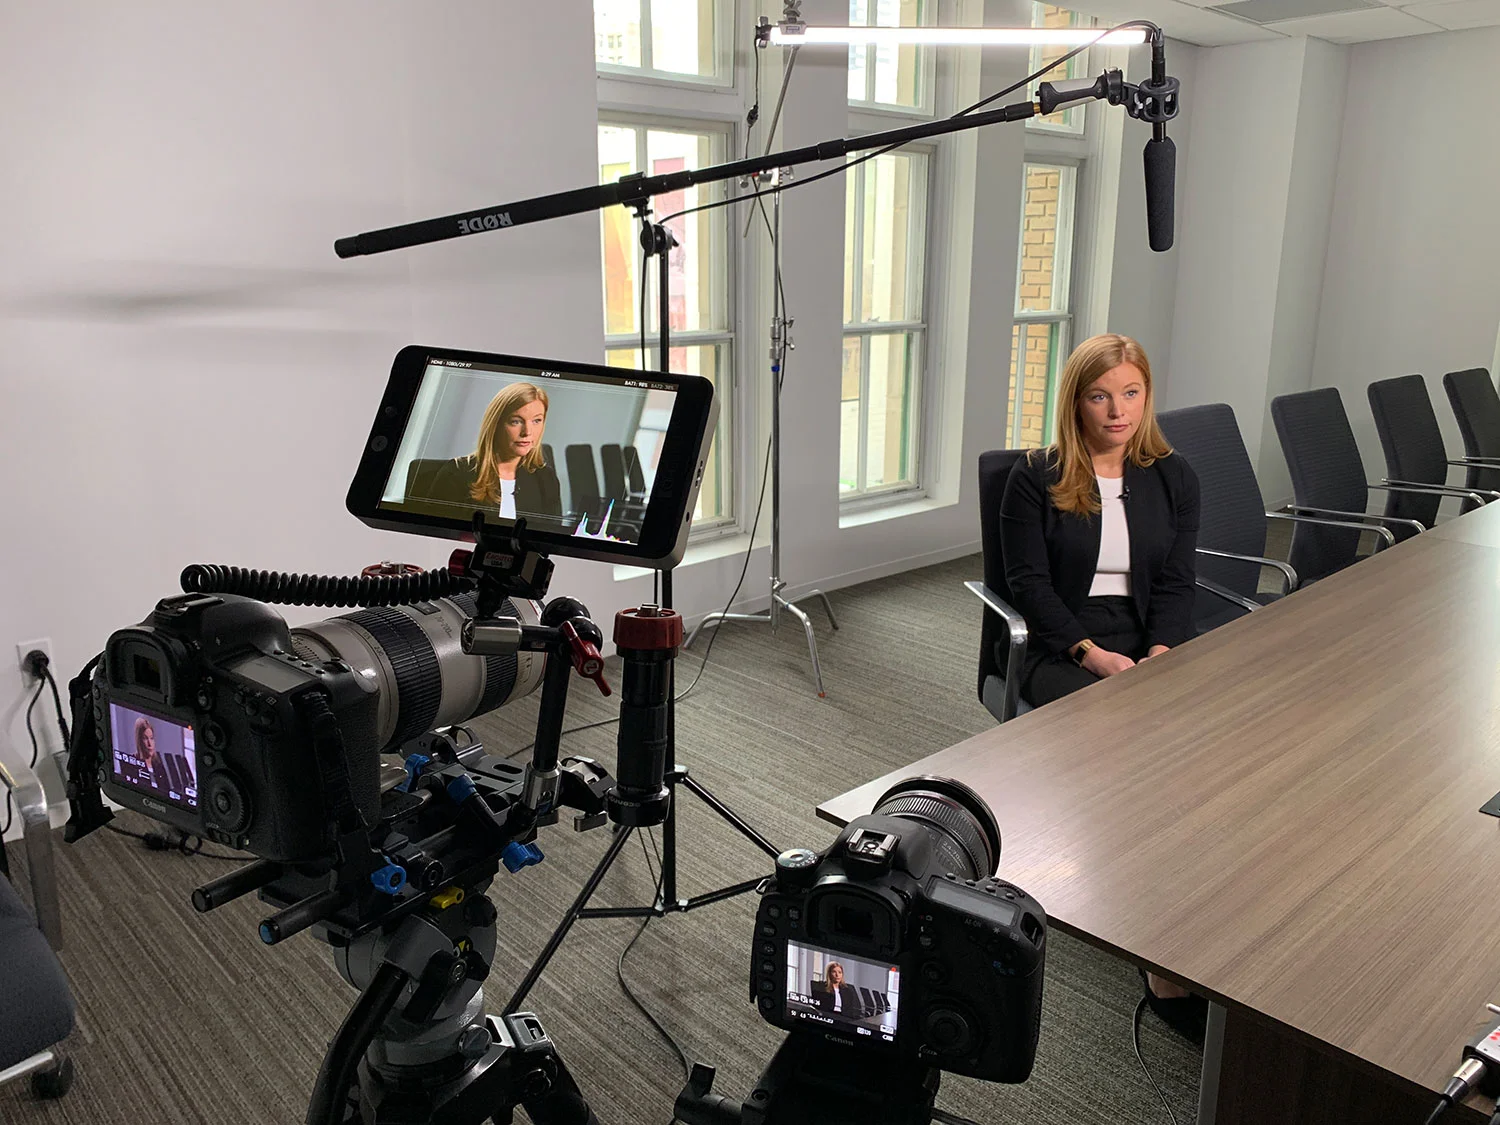
Once again, we were rocking the two-camera interview setup: Canon 5D Mark III with a 70-200 lens for the tight; Canon 7D with a 24-70 for the wide. They also had me shoot a third camera through the interview to act as additional B-roll for the edit. The Running Robot guys booked a conference room in a downtown Phoenix co-working space. Three of the four walls were floor-to-ceiling glass so reflections were a real issue.

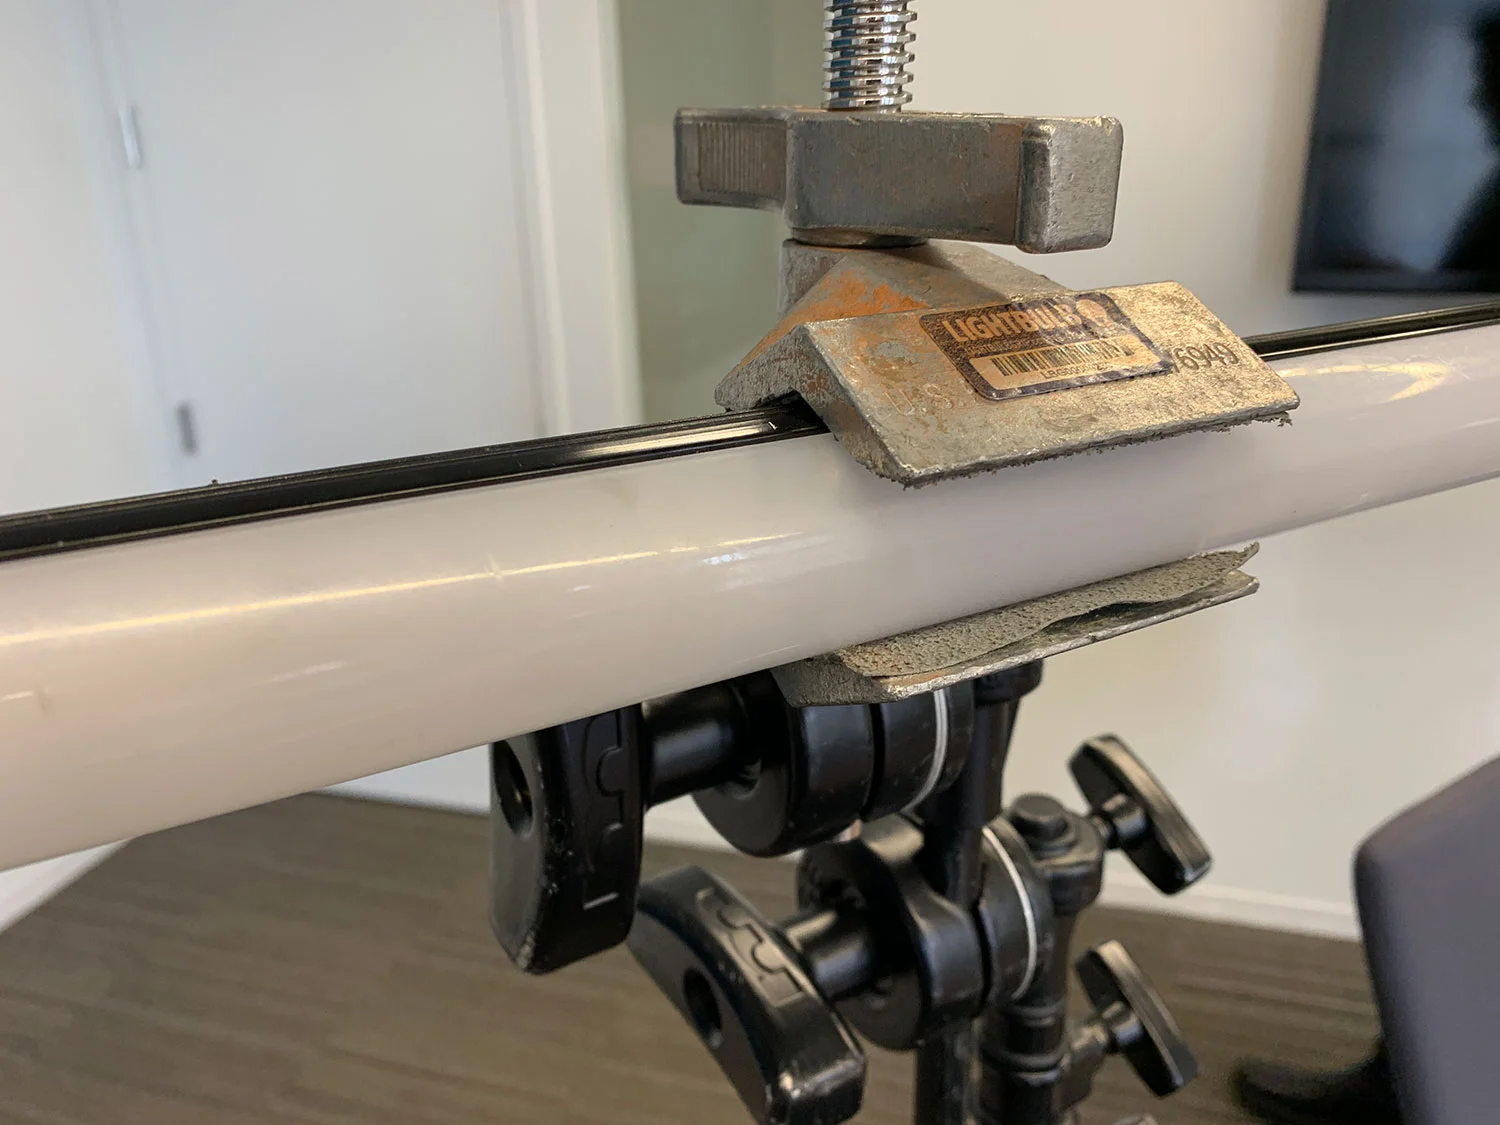
Slowly but surely I too am preaching the good news of working with these 4' Quasar Crossfades. The slim profile let me get the backlight in a tight spot between the talent and the glass wall. The skimpy dimmers from the rental house were unusable trash, so instead I used some gaffe tape on the fixture to make a small skirt on the light cutting back some of the output. Oh, and the baby pin mounting option and rubber bumpers on each end of the tubes – so rad. The hodgepodge of color temps flooding the glass room from everywhere was a hot mess. I still feel like the color on these fixtures is a bit more red than I'm used to, but it's an easy fix in camera or post. My iPhone Xs was having issues too in getting the color temps correct for these BTS photos. Side note: we had to rig the audio boom pole to a light stand via spring clamps because we felt like it (and didn't have the proper mount anyway).

Can we talk for a moment about red-eye flights? They're pretty awful – but still have their place. By all means it was my choice in scheduling because I wanted "the experience." Plus I knew it would help budget-wise seeing as how expensive all this is. Plus (plus) I'd already scheduled a couple meetings back in NYC knowing I'd be back in time thanks to flying through the night. The air travel part isn't that bad. Yes, it sucks trying to sleep on a plane, especially on a rough flight and next to a seatmate who isn't into "personal space", "boundaries", or "jackets without massive shoulder pads." Some solid red-eye flight tips are only a Google search away and I know what I'll be doing next time – i.e. neck pillow, window seat, glasses instead of contact lenses, etc...

For me, the rough part of flights back to NYC is actually getting from the airport back to my place in Brooklyn. There's a tipping point between the financial benefits of public transit ($15-20 and 60-90 minutes) and the time and comfort of just hiring a car from the airport ($50+ and 30-40 minutes). It was seriously a trip stumbling into my now regular coffee shop knowing only a few hours earlier I was standing on the other side of the country (Phoenix to San Francisco to Newark). I was fried for my 11am meeting in Manhattan, but it still went well. I was two coffees in before my 1:30p back in Brooklyn, but again, it went well too.

Philadelphia for a Night and Day

Just before moving to New York a client I've worked with the last few years reached out about a quick shoot in Philadelphia. No question – let's go. I knew I'd already be in Brooklyn by then, so I did the normal thing and looked for flights, this time out of New York City. Google Maps made fun of me and let me know Philadelphia is a two-hour drive from the city.

"Don't be dumb, get a rental car." - Google Maps (pretty much).

Booking a car and picking it up in my neighborhood – easy. Driving in and around NYC and trying to park – I'd rather lose a fingertip in a fight with a table saw.

Not having to fly my gear on this shoot allowed a bit of wiggle room with my grip and electric budget. All the cool kids on the internet shoot with those fancy Quasar LED tubes but it's tough getting your hands on those Jedi laser swords in Oklahoma City. This is where Lightbulb Grip & Electric comes in. By far they were more than accommodating in my small order and made sure I had what I needed and knew how to use it. They set me up with two 4' Quasar Crossfades, dimmers, clamps, and c-stands.

After more than an hour trying to drive the four or so miles from Park Slope to the other side of Brooklyn to pick up the gear at Lightbulb, I was off to Philadelphia and working up fresh 'Yo Momma' jokes for the next table saw I came across. Good lord it was weird being out of the city after not being more than six to eight miles from my apartment for nearly a month.

It was dark when I got to my hotel in downtown Philadelphia and paid the $30 for overnight parking. I bundled up and headed out with a camera instead of camping out in my room because, again, that's what the cool kids do (I'm told). Word to the wise, the National Park Service Rangers – or at least the hired overnight security guards – will yell at you if you're walking too close to the chain railing on the street next to Independence Hall. Also, make sure your headphones aren't up too loud so you can hear them yell at you the first time. Oh, and they're not up for jokes if you're trying to lighten the mood and get them to stop yelling at you.

The shoot the next morning and the reason I was in Philadelphia went very well. We were shooting another two-camera interview for a series of client videos. It's not like these things come with a built-in location scout, so I showed up with my normal Rock-N-Roller cart full of gear. Thank goodness for carts. We had to park in a garage a couple blocks away and then use a service elevator to get where we needed to be in another building. Luckily I was able to get all my nonsense from the car to where it needed to be in one trip.

So those Quasars... I'm a fan. We were shooting in a white room with plenty of daylight bouncing around. If I'd just had my trusty tungsten ARRI kit (650/300/150) I'd be freaking out knowing the gel and diffusion death march I'd be putting it through in getting the color and softness I wanted while praying it still had enough horsepower to overcome the ambient light coming through the windows. Those Quasar Crossfades were soft and bright, and I was able to quickly dial in the color temperature to what I wanted. They also weren't hot so the talent wasn't melting and I didn't have to wait for them to cool off before packing up. They felt a bit more magenta than I was used to, but that could've been how my monitor was set up. I've heard the color temp warms up a bit as they're dimmed down, but I had them at full blast. Seemingly the only butt-pain in using these lights in a travel kit would be hauling around c-stands; surely there's an easy solution to that.

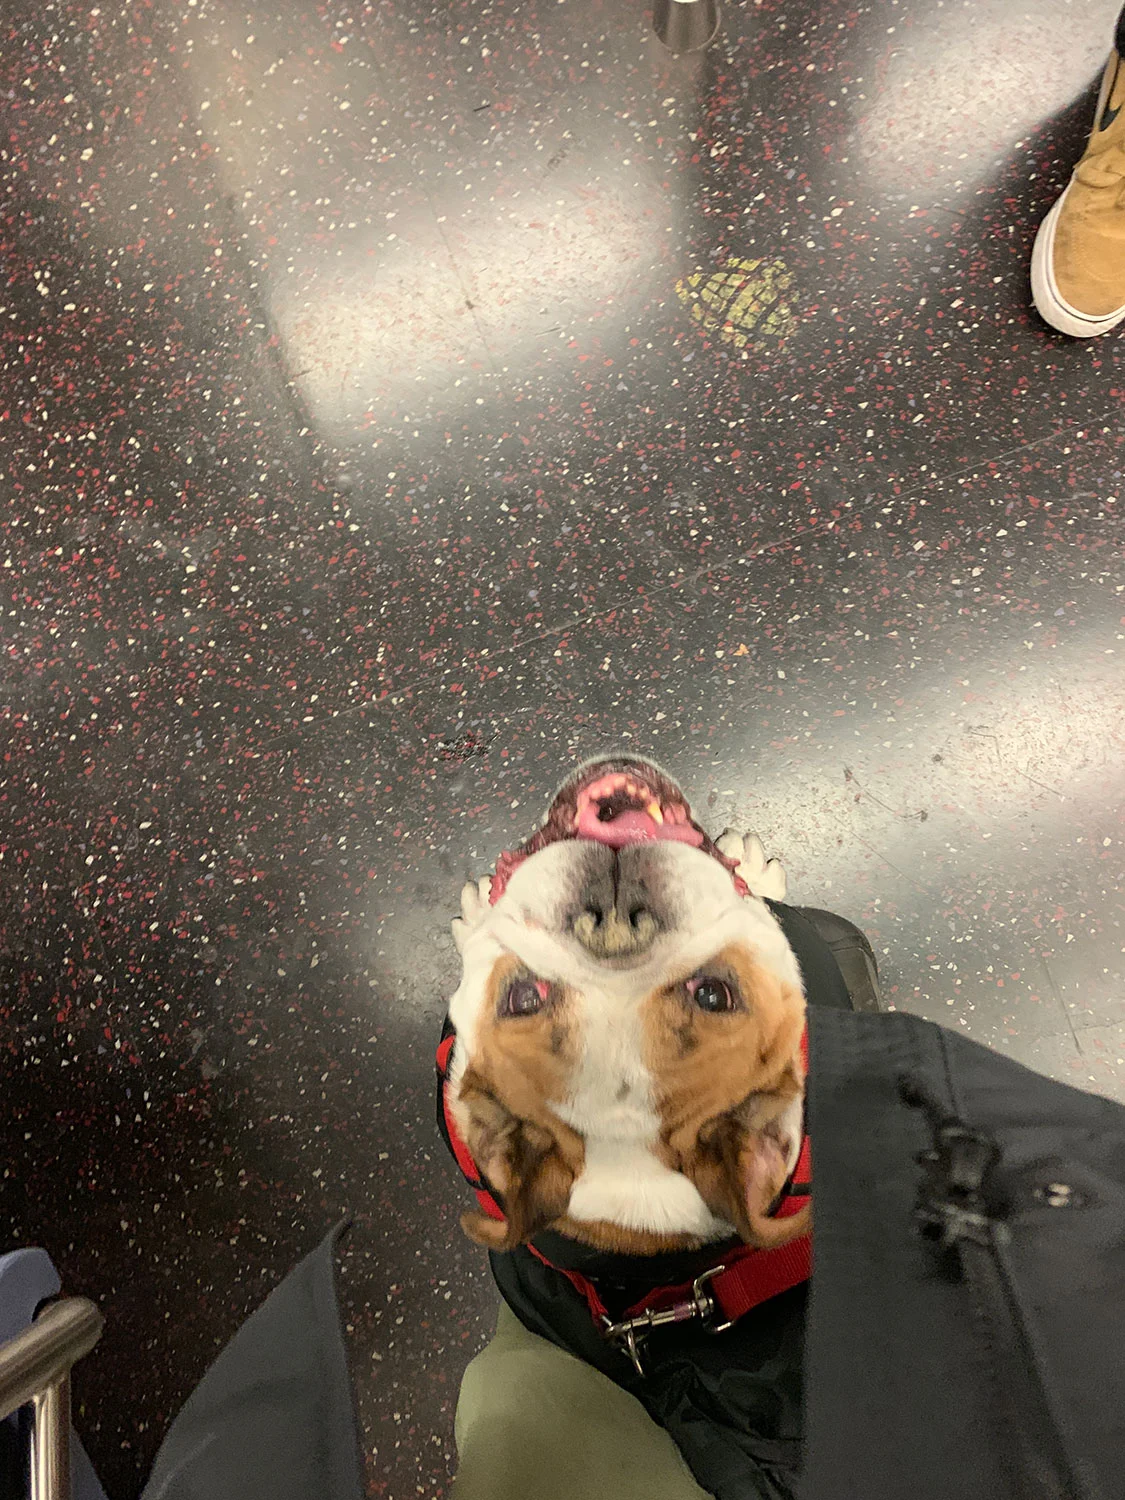
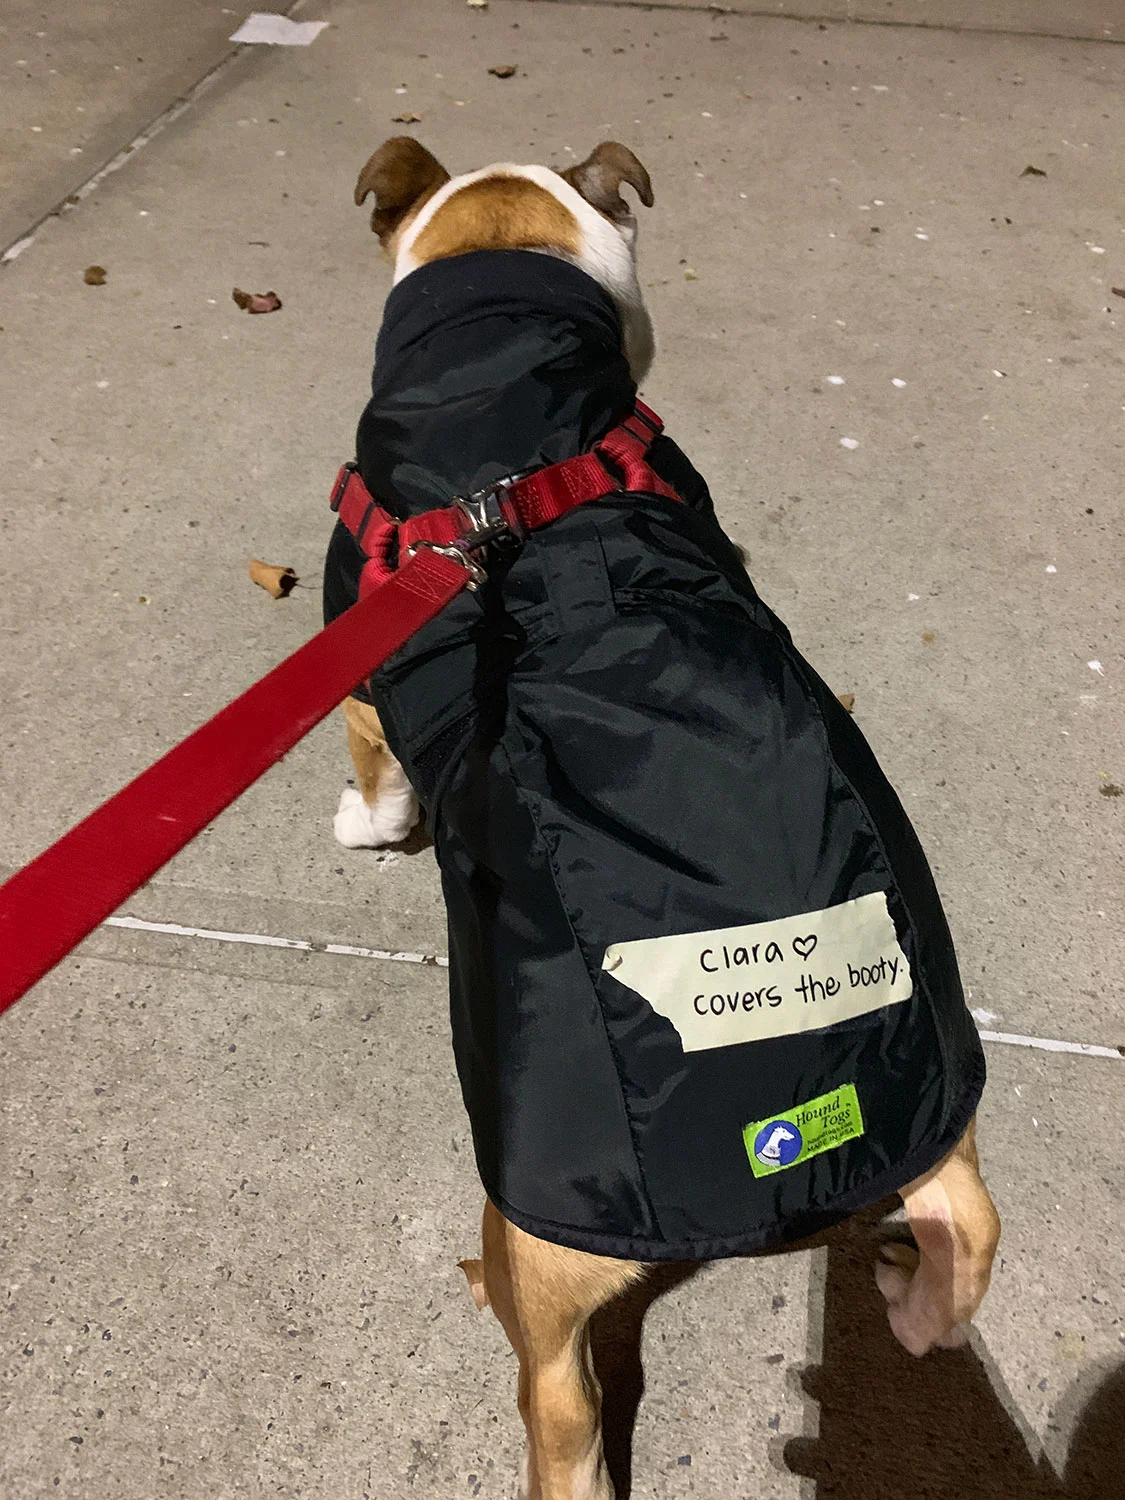
Clara the dog is up here with me in NYC and needed to be boarded overnight while I was gone. That was a whole thing too, but it was a great experience with both the neighborhood vet's office and the actual boarding facility. I'm assuming you're not here to read about my dog, but I will say she had a good time riding the subway. You're not supposed to have a dog on the train without them being in some kind of carrier – which again is a whole thing – but she immediately made friends on the train and surely made it on at least one more Instagram account.

Latenights @ Lightbulb: Metro Camera Cars

So straight up one of my big attractions to New York City is the concentration of filmmakers and opportunities to make stuff. Good grief the number of emails, direct messages, and coffee meetings I've been able to make over the last few weeks has been fantastic. One of those coffee meetings was with a guy I met during the Film+Music Conference in Ft. Worth this past September. Dustin Ward is a Brooklyn-based filmmaker and cool enough to point me to Lighbulb Grip & Electric. Along with being a rental house, they do these free events called Late Nights @ Lightbulb: Free Education for Filmmakers, by Filmmakers. Up this past week was Metro Camera Cars.

IMG_0182-2web.jpg

Just a heads up, this isn't a paid post. I've not worked with these guys, but I did get a chance to meet them. They've got a cool thing going and I'm down with what they're trying to do.

By no means am I swimming in budgets with cash to burn. I've had projects where we needed a driving shot and I've done my fair share of "let's-hang-the-camera-guy-out-the-car" setups to – hopefully – get what we needed. More often than not it wasn't safe, the shot looks like garbage, and again, hanging someone out of a car isn't safe. The guys at Metro Camera Cars are out to make "high-end, dynamic, fluid camera movement accessible for all budgets... With skilled drivers and technicians, [their] goal is to increase your production value while decreasing risk."

IMG_0180web.jpg

Cutting to the chase on all this, they've got a fully motorized jib arm with a DJI Ronin 2 attached to the business end of it – you provide the camera and lens package. That whole setup is attached to a blacked-out Honda Fit piloted by a stunt driver and filled with all kinds of gadgets and crew to make all the fluid and dynamic camera movement nonsense happen. Through their presentation, they ran us through their gear, the basics of working with a camera car, and a solid Q&A session. Afterward, we all bundled up and went outside to actually see the setup. I've included my notes from the talk below.

Am I planning to hire out a camera car for an upcoming shoot? No. Do I now have a better idea as to what goes into a shoot with a camera car and a group to reach out to that would do a great job, especially with a tighter budget? Yes. Oh, and did I meet a solid handful of likeminded people who I may get a chance to work with at some point? Again, yes.

A Lighting Test

So this was a different thing. By far the most moody and stylized projects I’ve done to date versus what normally fills up my hard drives. I’ve been sitting on a couple reference images for a long time that I absolutely wanted to use but for one reason or another hadn't gotten around to shooting. The whole idea was wrapped around lighting, body structure, and direction. Well, that and my thing of always wanting to do stuff and a goal to post to my blog at least once a week this year.

In putting a treatment together – or at least a lookbook – I dug through a ton of references I’d already had stored away. I’ve also been listening to a TON of Anderson .Paak so I knew his music would be playing a major part. By the way, I'm awful at coming up with titles, so ignore the "Graceful Strength" part if you download the lookbook. This whole thing was more about a lighting test than anything proper. The footage from this film is available for licensing over at Filmsupply.

There were also the self-imposed restrictions of a simple background, using my own equipment (short a couple c-stands and apple boxes), and keeping the talent either seated or lying down. I’d love to talk about my incredible studio space with all its incredible amenities, nice leather couches, and cases of LaCroix Sparkling Water, but instead, I’ll show you my bedroom where I pushed everything up against the walls before the shoot and then reset before St. Anne the Wife got home.

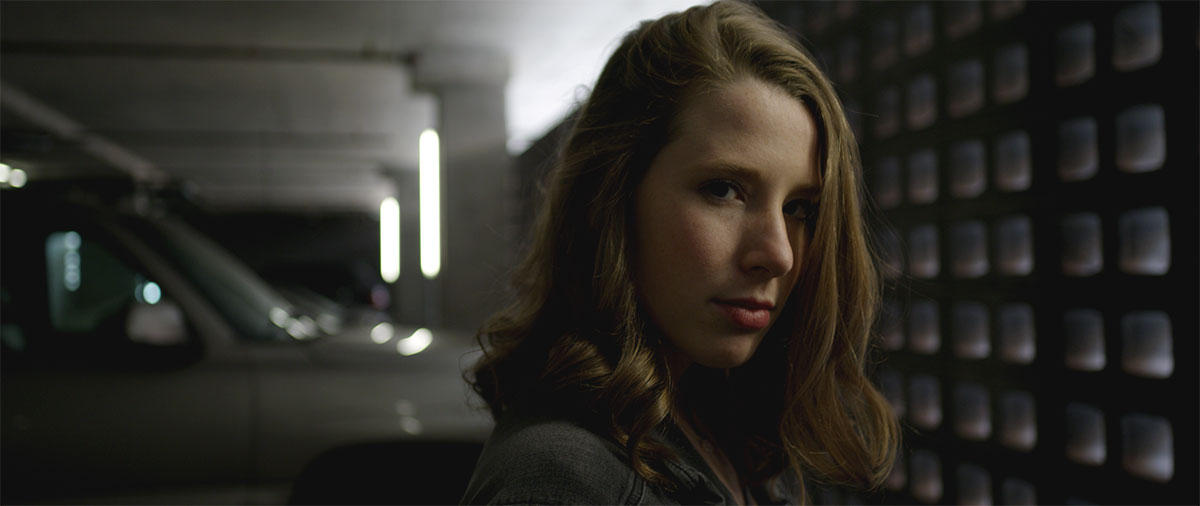
Initially, another model was lined up but I reached out to someone else due to scheduling conflicts. Madison Bready is an OU student I met years ago and worked with a few times recently. Turns out Madi was absolutely the right person for the shoot. Cynthia Dreier is a makeup artist I’ve worked with on quite a few projects and she killed it in making sure Madi looked her best and kept us on track during the shoot. Did I mention Madi is an OU student because we only had like 90 minutes to do makeup and shoot everything in between her classes that afternoon. Oh, and did I mention I was super happy with what we got? Because dang…

Gear-wise, we shot with my RED Weapon Helium at 8k, 60 fps, 2:1 aspect ratio, and 15:1 compression with my Zeiss CP.2 len set (25, 35, & 50). I'd also set my white balance to 4500k to warm up the tungsten light and white backdrop – along with her skin tones and hair color. That being said, all the footage in the edit is straight out of camera; I didn't do any additional color work to the footage (or still frames). I also tried a step printing technique shooting at 8 fps and a 360° shutter angle, but it was in the last couple minutes of the shoot and I wasn’t really happy with the footage; I should’ve shot closer to 4 fps. For lighting, I set up an Arri 650 head through a couple scrims and two layers of diffusion. A bunch of black fabric hung on camera right helped control the spill. I’d roughed in the lighting setup using a styrofoam head on a light stand before the talent got there.

Post-wise, I knew the 8k files were going to be a monster. We shot about 325 GB of footage which isn’t nuts with my camera package, but honestly a pain to edit such large files. Adobe Premiere on my Mac Pro setup will handle it like a champ, but having to lower the playback resolution to 1/8 or 1/16 just to just slog through the .R3D files is like tying that champ’s arm behind his back before going into a fight. I’d worked with offline edits WAY the hell back in the days of SD footage and tape decks, but this simple YouTube tutorial pretty much changed my workflow and is keeping me from looking so longingly at those fancy Alexa Minis and their blissful 4k sensor sizes.

Music is always the hardest part for me during an edit. I promise I’m all about supporting other creatives and paying to license music, but after a genuinely solid effort I couldn’t find or afford something that fit as well – in my opinion – as this Anderson .Paak track. 99% of my edits start with a music track – especially with personal projects; It's got to feel right or else it's not worth the effort.

After I'd gotten somewhat through a rough edit (and several glasses of whiskey) I reached out to a few other creatives for feedback. Crazy thanks to those guys for the insanely solid ideas, helping me step back from how close I was to the work, and look at what I was missing.

Good grief I hope to do more of this soon.

Steadicam Aero 30

For someone who's shot a ton of handheld in an EasyRig over the years and seriously considers it part of my shooting style, adding a Steadicam to the mix has been kinda mind-blowing. We shot this simple test with Madison Bready in just over an hour one afternoon in an impromptu shoot organized just before lunch.

In addition to the Steadicam Aero 30 rig I'd just bought earlier in the week, I'd rented a wireless follow focus and monitor setup from lensrentals.com for a shoot the next couple of days. After a handful of texts, emails, and phone calls John and Madi met me at a coffee shop near downtown Oklahoma City to hang out for an hour or so and make something.

For sure there's plenty of "Hey look at what you can do with a Steadicam!" nonsense in the edit, but being able to move and operate a camera in new ways is like kissing for the first time. Yeah, you're really bad at it, but it's awesome and sure makes your heart beat faster.

Ronins and Movis booted sliders from the trendy/relevant filmmaker pedestal a few years ago but I'd only shot with them a handful of times. Yeah, I've seen some awesome shots with those tools, but I never really bought into it. My back always hurt after using them and I never felt like I had the amount and type of control I wanted.

All the conversations I'd had around stabilized camera movement kept circling back to Steadicams being the way to go. There were a few camera department guys I trust and constantly pester here in town plus the LA steadicam op I connected with working on a recent feature. They all talked about how much practice it takes to even be remotely passable as a Steadicam op and I absolutely agree. I've got a ways to go. Oh, and I now realize I've traded the back pain from an EasyRig for hip pain delivered via a Steadicam vest.

Camera-wise, everything was shot with existing light on my RED Weapon Helium at 8k widescreen, recorded to 4k ProRes, and a Zeiss 25mm CP.2. None of this nonsense was color-corrected or graded. The music is another rad Louis Futon remix from Soundcloud.

Crazy thanks to [John Dewberry][1] and Madison Bready for putting up with and helping me shoot a test like this. I've been working with John over the years and he had come over a day or two before to help me initially set up the kit. I'd been doing some simple tests and practicing around the house, but nothing beats actual time working with talent in front of the camera and an AC pulling focus. Seriously hope to do more with both of them very soon.

Interrotron Teleprompter Hack

Nerding out about finally using the iPad/iPhone/FaceTime/Teleprompter Interrotron hack I'd seen somewhere on the interwebs. We were doing another project for Central Oklahoma Habitat for Humanity and wanted the interviewee to look directly into the camera. That's easier said than done as most people would prefer to make eye contact as they're talking to another person and not lens. Honestly, it worked out much better than we expected.

In a nutshell, you're essentially having the on-camera talent look into the teleprompter and see the person they're speaking with via an iPad that's FaceTiming another iOS device – in our case an iPhone placed right behind the camera. ProTip: make sure you mute the iPads/iPhones being used so you don't get a feedback loop. If you're interested in the teleprompter I'm using, make sure to check out the 15" ProLine Plus by PrompterPeople.