Steadicam Aero 30

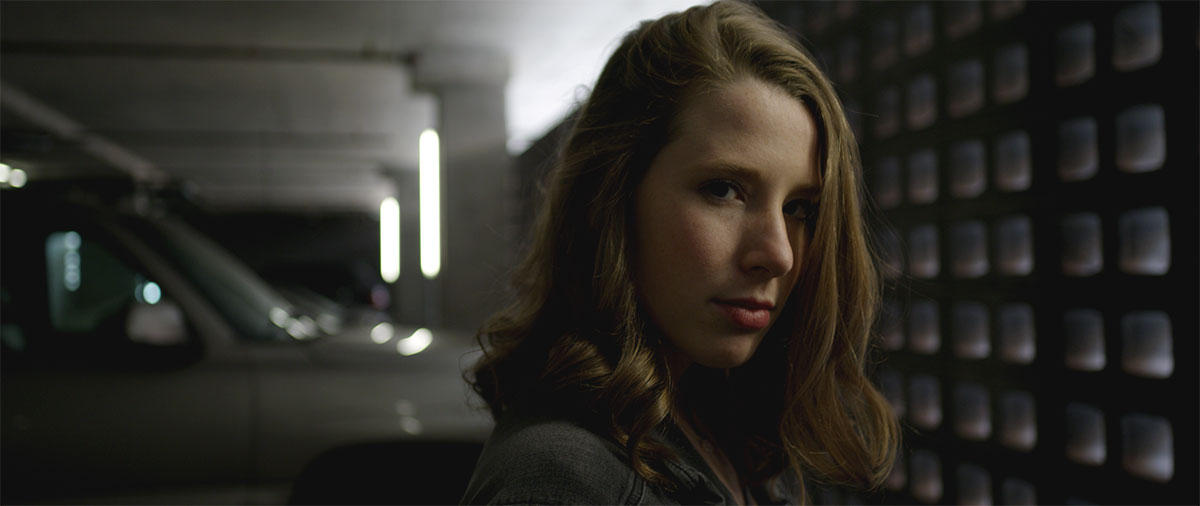
For someone who's shot a ton of handheld in an EasyRig over the years and seriously considers it part of my shooting style, adding a Steadicam to the mix has been kinda mind-blowing. We shot this simple test with Madison Bready in just over an hour one afternoon in an impromptu shoot organized just before lunch.

In addition to the Steadicam Aero 30 rig I'd just bought earlier in the week, I'd rented a wireless follow focus and monitor setup from lensrentals.com for a shoot the next couple of days. After a handful of texts, emails, and phone calls John and Madi met me at a coffee shop near downtown Oklahoma City to hang out for an hour or so and make something.

For sure there's plenty of "Hey look at what you can do with a Steadicam!" nonsense in the edit, but being able to move and operate a camera in new ways is like kissing for the first time. Yeah, you're really bad at it, but it's awesome and sure makes your heart beat faster.

Ronins and Movis booted sliders from the trendy/relevant filmmaker pedestal a few years ago but I'd only shot with them a handful of times. Yeah, I've seen some awesome shots with those tools, but I never really bought into it. My back always hurt after using them and I never felt like I had the amount and type of control I wanted.

All the conversations I'd had around stabilized camera movement kept circling back to Steadicams being the way to go. There were a few camera department guys I trust and constantly pester here in town plus the LA steadicam op I connected with working on a recent feature. They all talked about how much practice it takes to even be remotely passable as a Steadicam op and I absolutely agree. I've got a ways to go. Oh, and I now realize I've traded the back pain from an EasyRig for hip pain delivered via a Steadicam vest.

Camera-wise, everything was shot with existing light on my RED Weapon Helium at 8k widescreen, recorded to 4k ProRes, and a Zeiss 25mm CP.2. None of this nonsense was color-corrected or graded. The music is another rad Louis Futon remix from Soundcloud.

Crazy thanks to [John Dewberry][1] and Madison Bready for putting up with and helping me shoot a test like this. I've been working with John over the years and he had come over a day or two before to help me initially set up the kit. I'd been doing some simple tests and practicing around the house, but nothing beats actual time working with talent in front of the camera and an AC pulling focus. Seriously hope to do more with both of them very soon.

Seamless Paper Backdrops

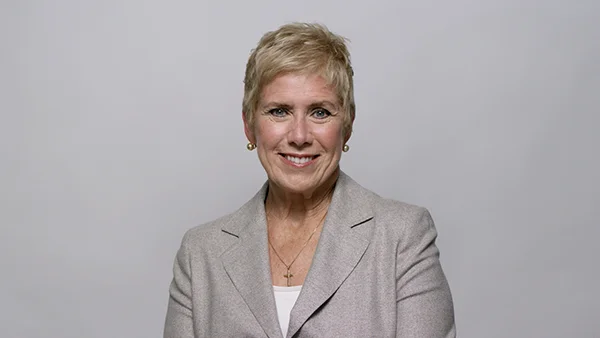
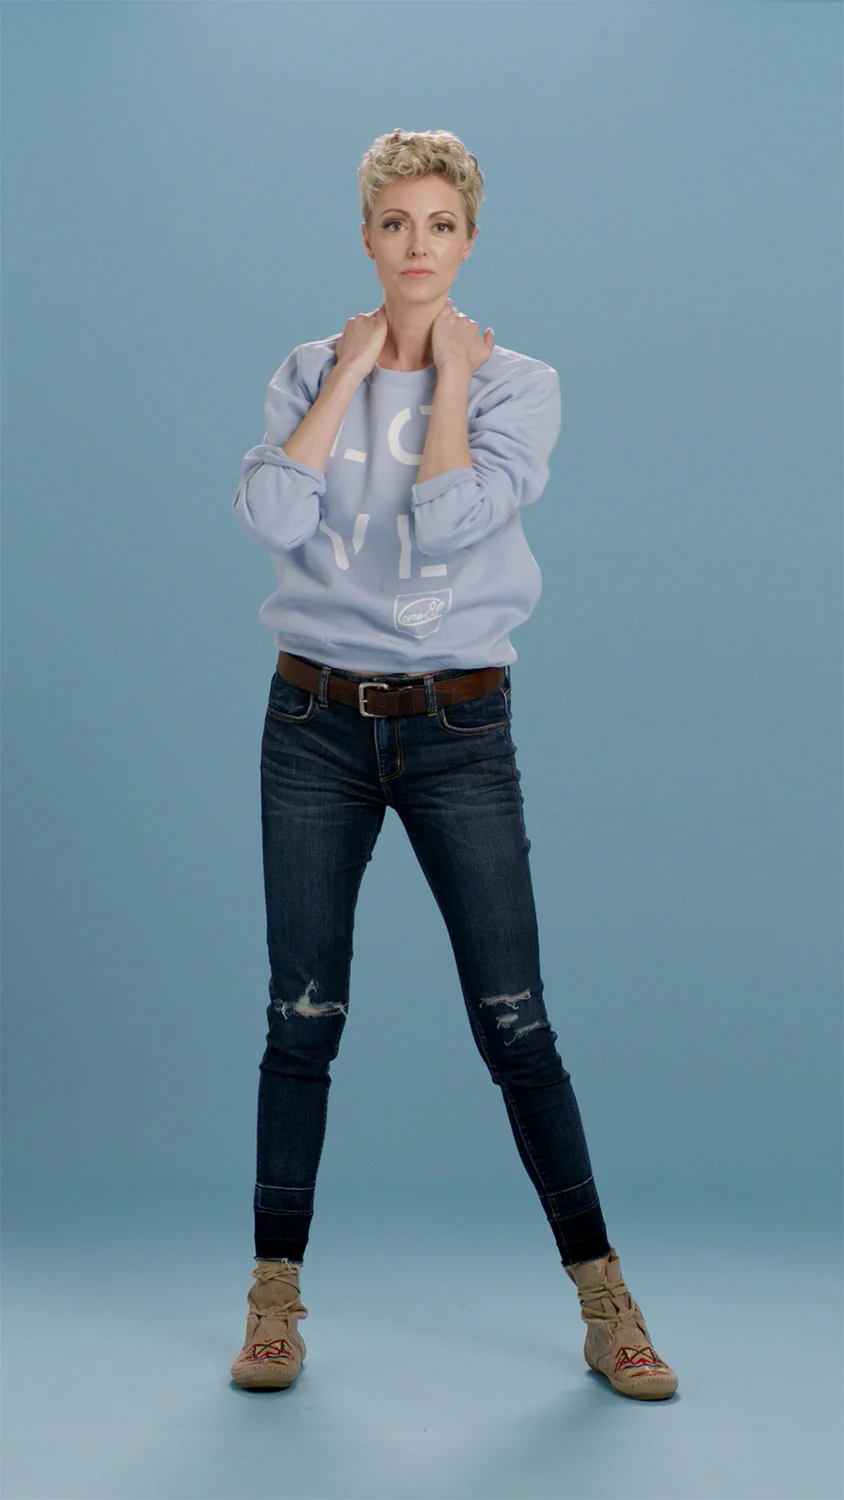
A client I've been working with recently hired me to shoot a campaign they were working on for a small clothing brand. They wanted to feature on-camera talent wearing the brand's clothing in front of multiple solid color backgrounds. We didn't have the budget or the time to build out multiple sets in different colors, so our best option was to use one lighting setup and multiple colors of seamless paper backdrops.

Over the years I've shot a ton of talking head projects and normally our only requirements are making sure the room looks somewhat decent and is big enough for our equipment, crew, and talent. Recently I started using Savage Seamless Background Paper to try and improve our production value and it's been a great experience. It does take a bit more time and effort to get everything set up given the additional space and stands necessary. It can also be a hot mess to transport those wider paper rolls if you don't have a larger vehicle or box truck. Once you figure that nonsense out, the improved look can certainly be worth the effort if it's in line with the creative direction.
Talking heads are pretty simple. More often than not they're locked-off shot(s) and the on-camera talent is sitting and not moving around. For this project though, the client wanted the talent to be moving around and for us to capture a mix of close-ups, mediums, and full-body shots.

We had the budget to rent out a larger studio space here in the Oklahoma City area. The additional space gave us plenty of room to unroll enough paper for our head-to-toe shots. The space also had enough power for the larger fixtures we needed to evenly light our bigger setups.

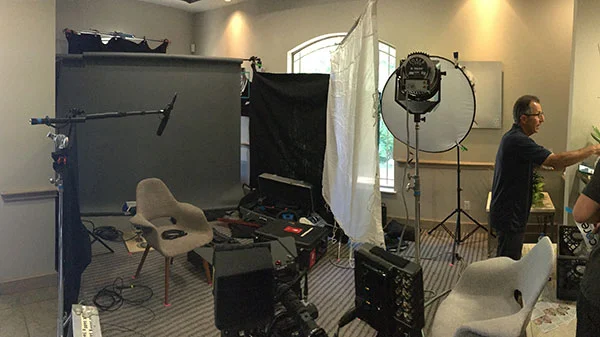
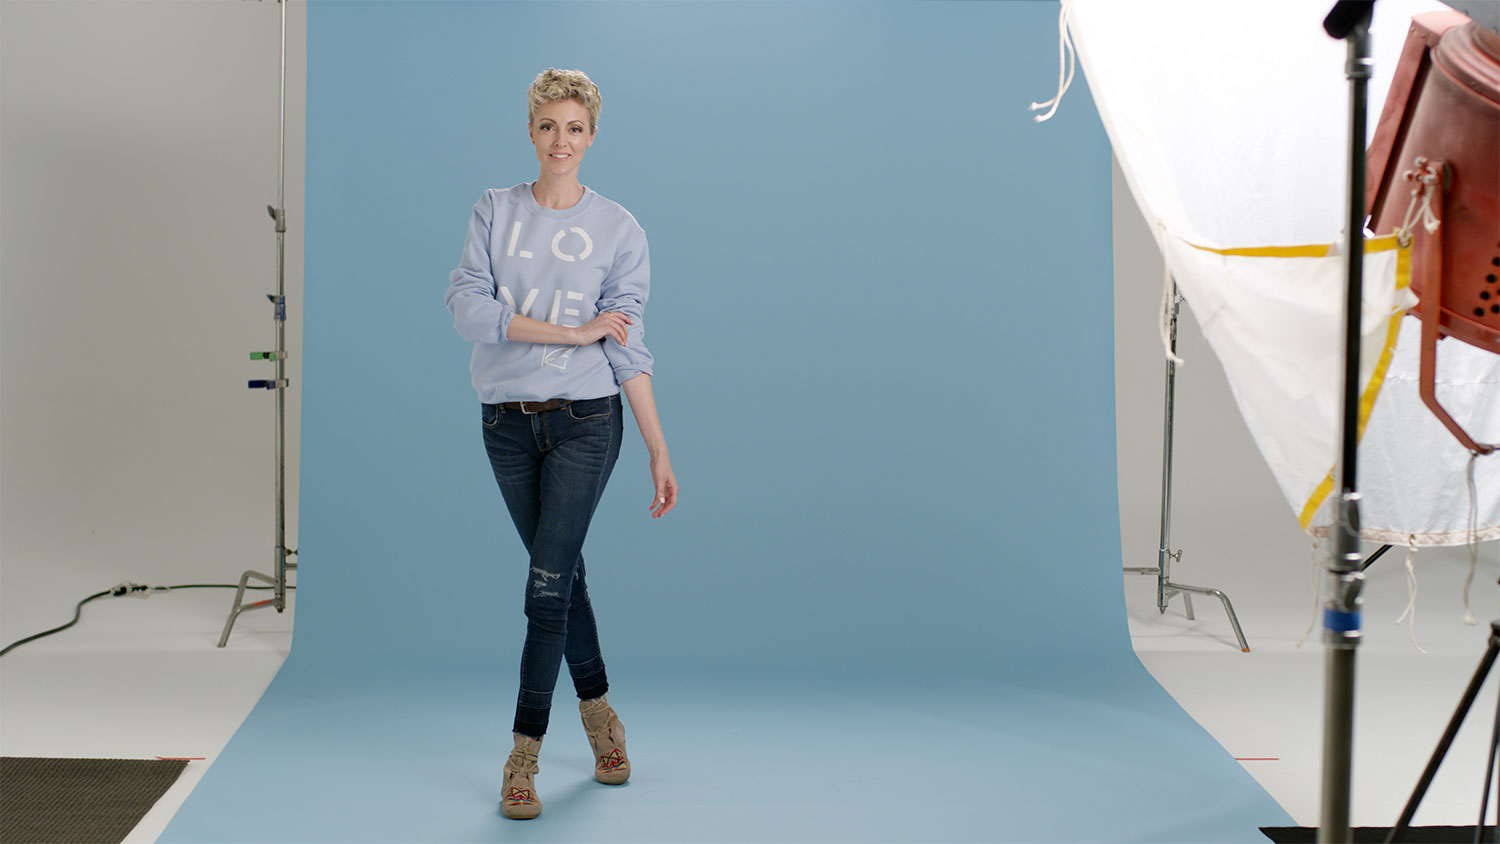
The goal was to keep the shadows super soft, so for our key light we made a book light with one of the studio's 5k fixtures bounced into a 6x6' ultra bounce and back through a 6x6' silk. For the backlight, we pushed a single 4' Fourbank Kinoflo through a 48" diffusion frame. The larger light sources gave the talent plenty of room to move around while still maintaining a consistent look. We also used a large black solid opposite the key and a double net at times to help sculpt the lighting. We shot another look during the first half of the day using the studio's large white cyc wall, but we can talk about that some other time. Sidenote: my life is forever changed after using wheeled combo stands for the first time. Those things are magic.

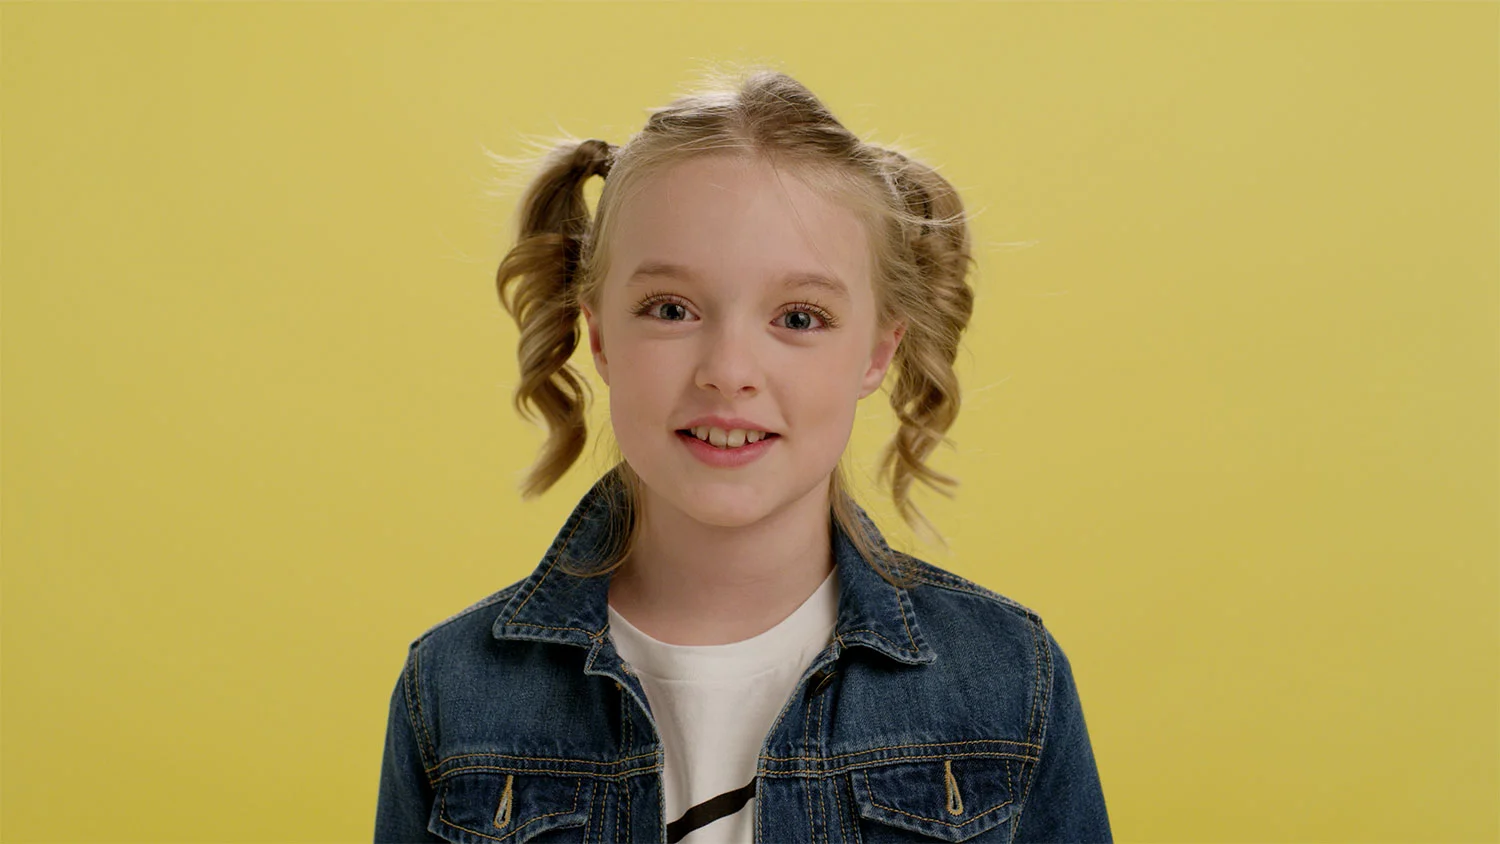
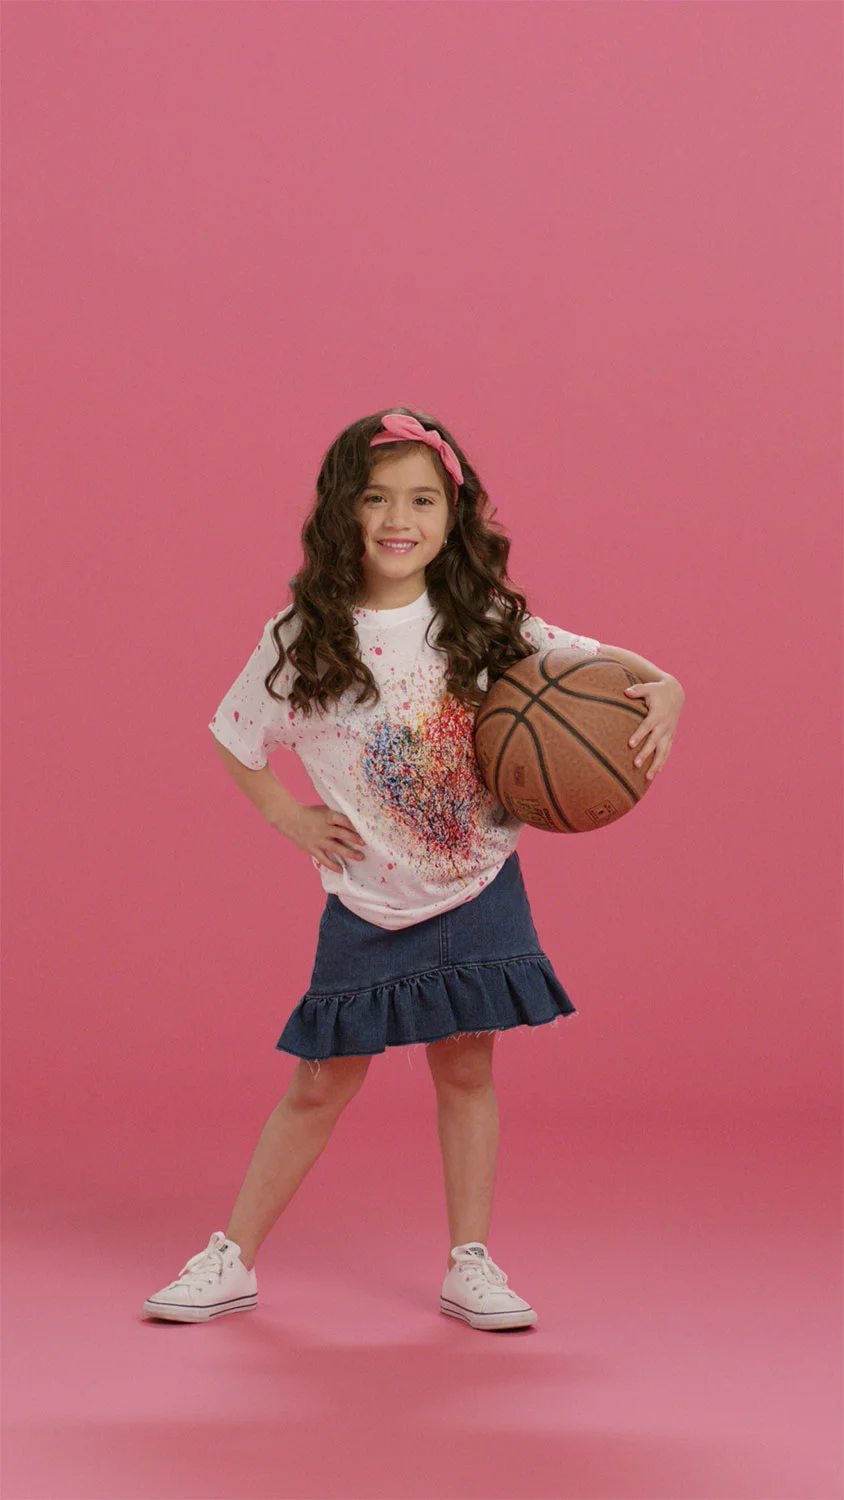
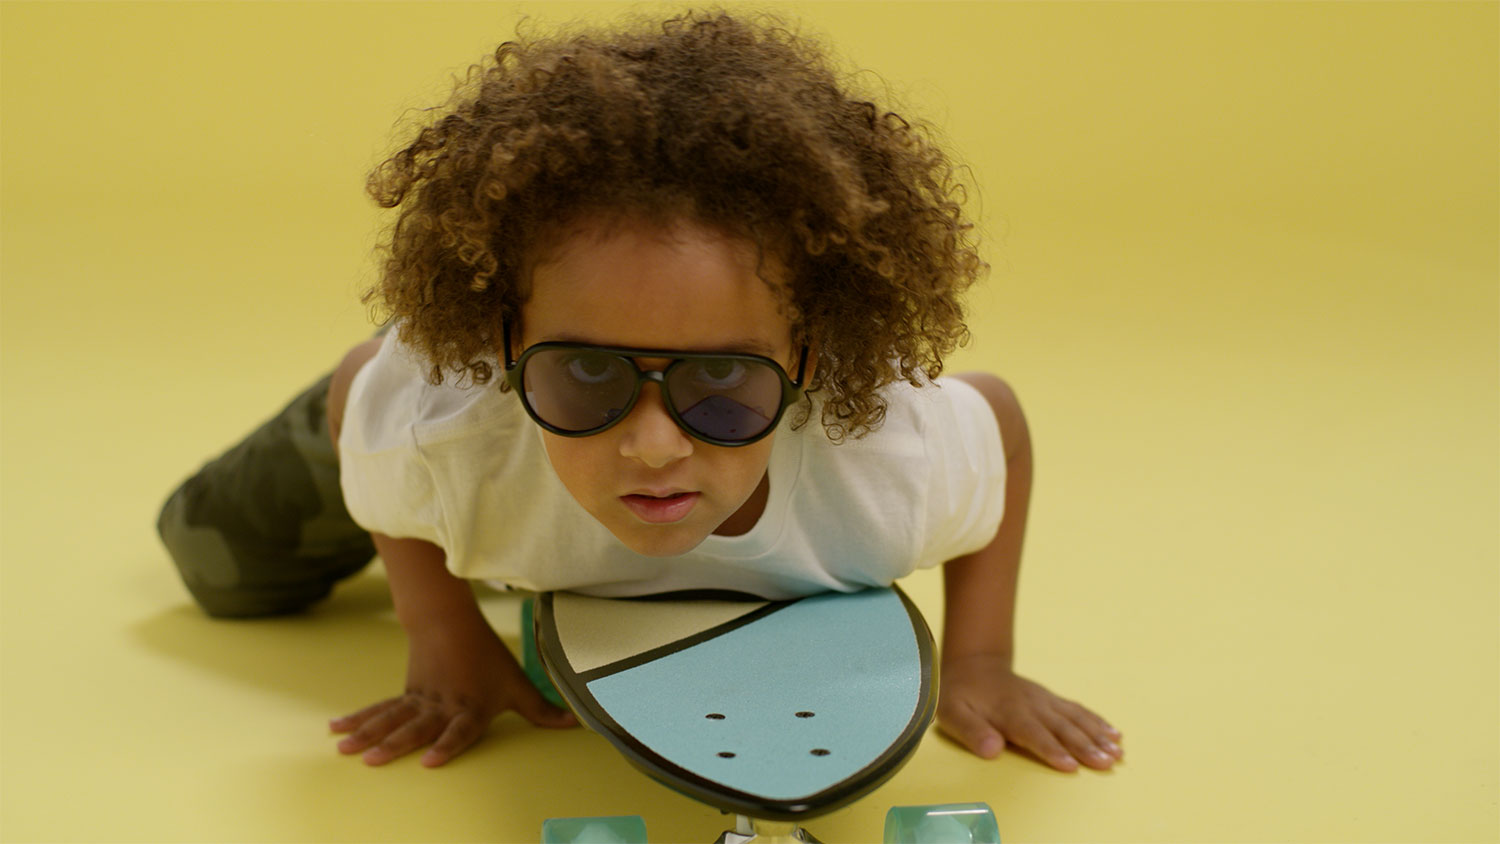
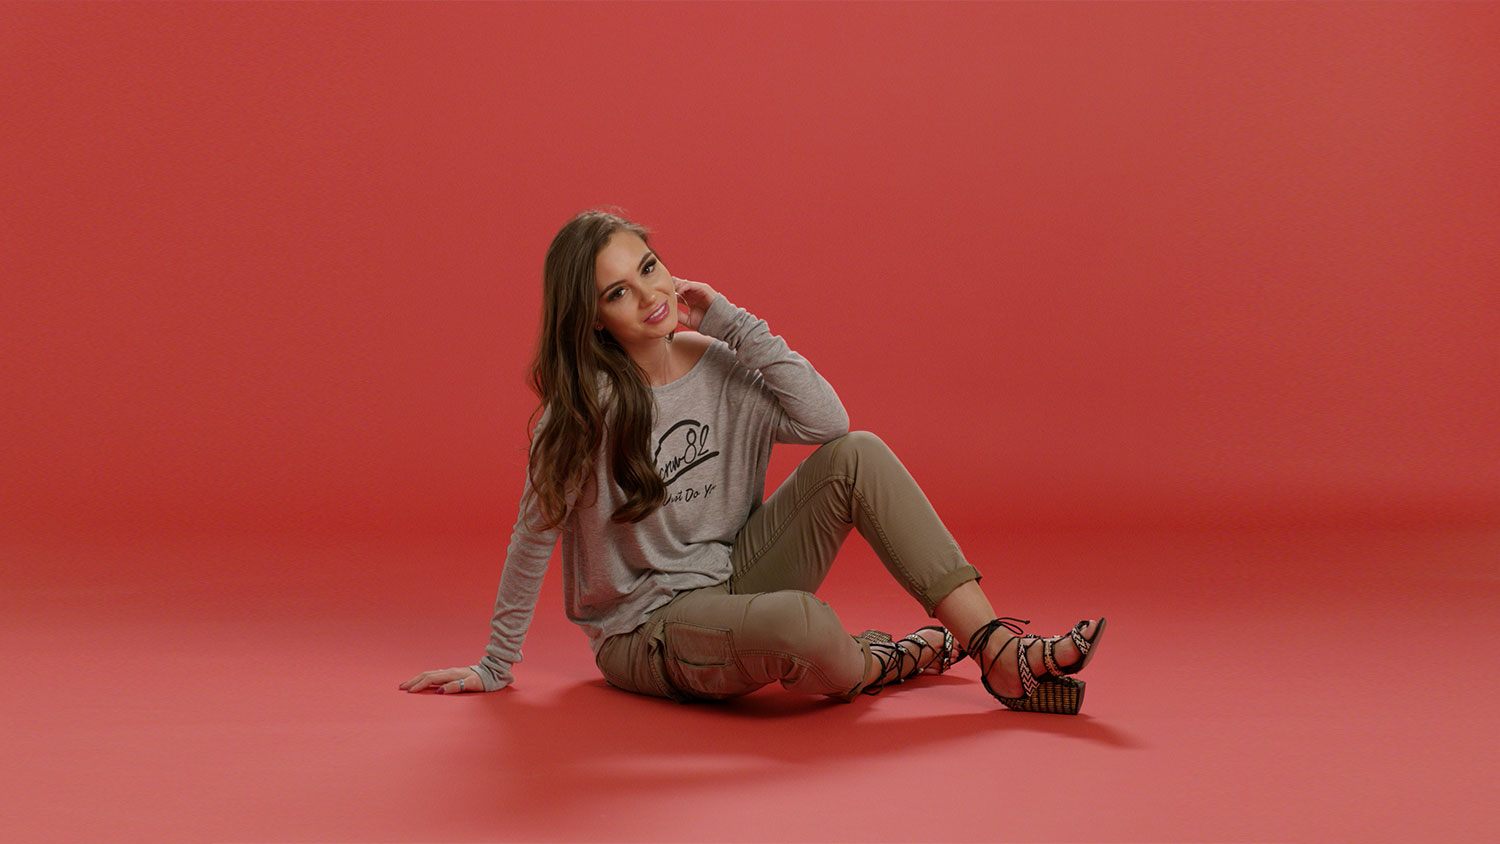
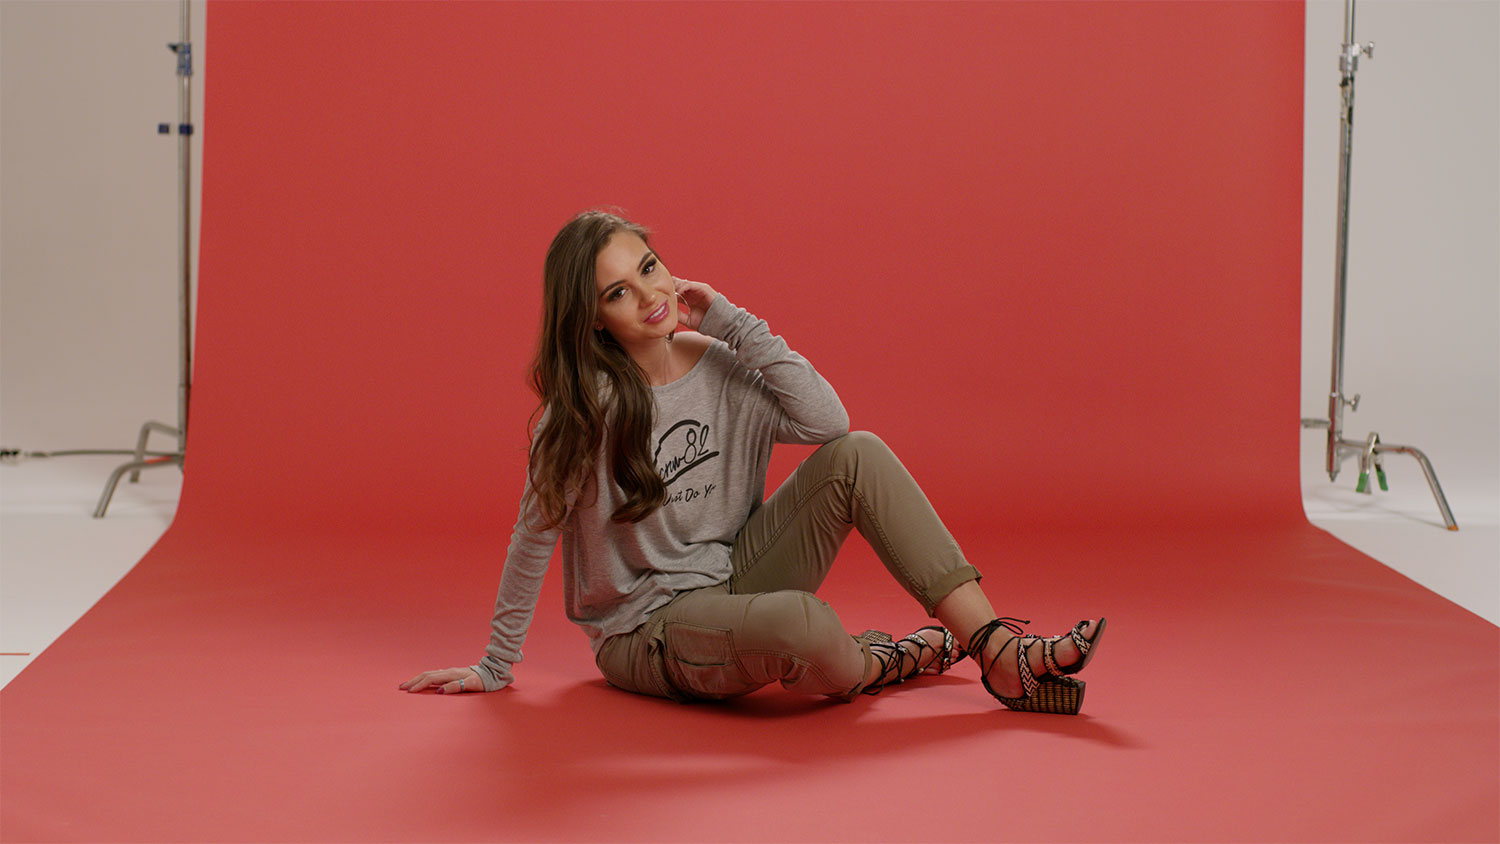
Knowing how well they'd worked for me in the past, we used those Savage Seamless Paper Backdrops and the client picked out four colors: blue, yellow, pink, and red. The final delivery would be a 16x9 format, so we used the 107" wide backdrop. Savage does have a 140" option, but we weren't able to get that for our shoot.

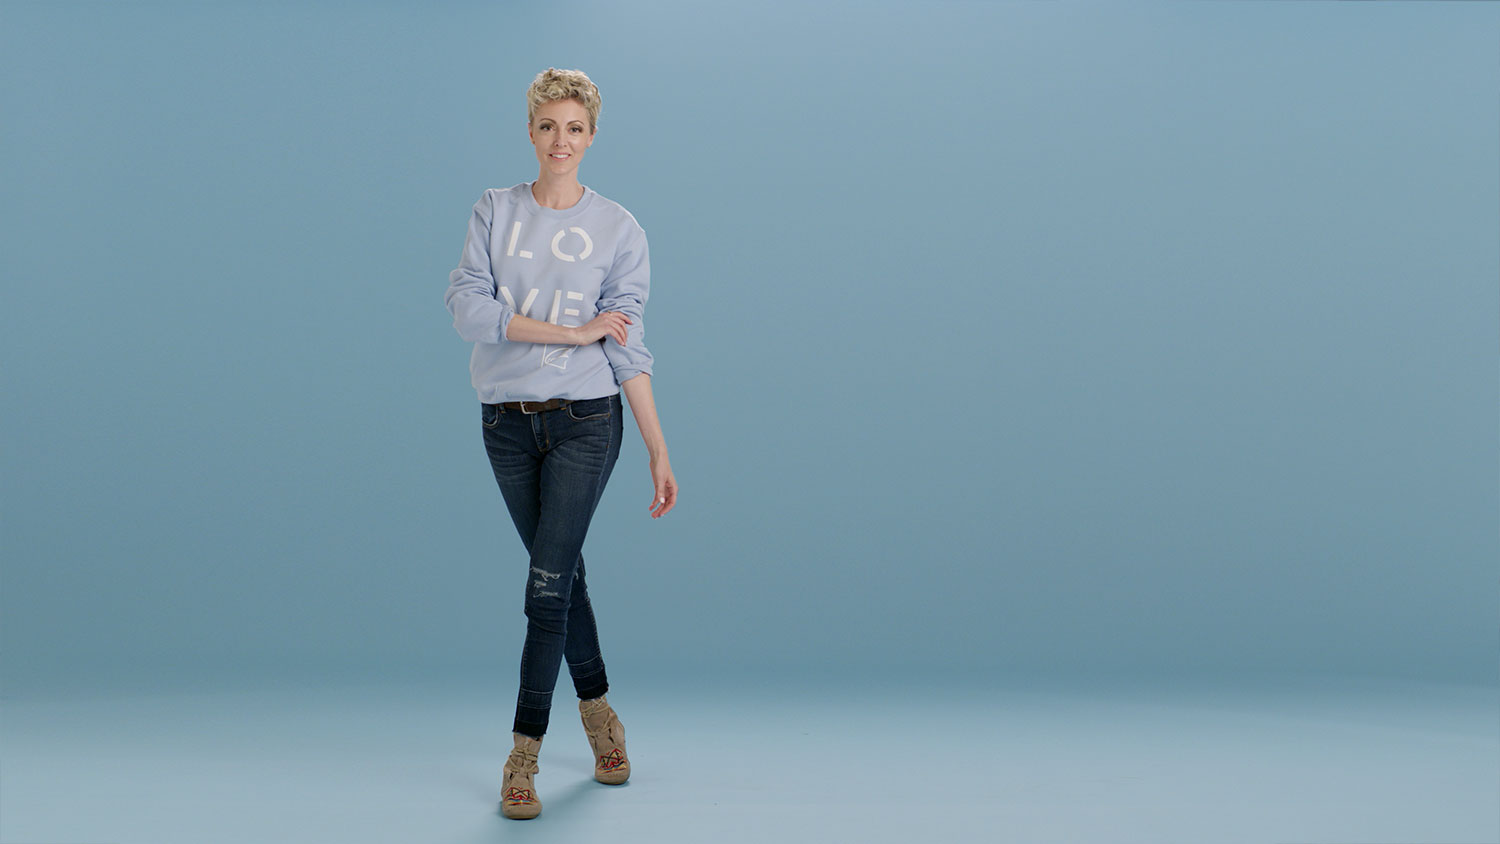
The paper backdrops we were using were wide enough to fill out the background of our close-up and medium shots, but the full-body-length shots would need a bit of work in post. Depending on the edit, the paper backdrop edges would need to be digitally extended to fill out the 16x9 frame. As long as the on-camera talent didn't go past the edge of the paper, they'd be fine.

In the end, we were happy with our footage. The client didn't want to deal with a ton of post-work so we shot the full sensor 4k ProRes on my RED Weapon and baked in the the RedGamma 4 / Dragon Color 2 look. You're a bit limited with the framerates in using the 4k ProRes option on the RED Weapon, but we were able to get what we needed and the client didn't have to deal with the much larger raw 8k .R3D files.

CLIENT: Red Moxie Media
DIRECTOR: Tanya Martineau
AC: John Dewberry

Carnivale 2018 Photo Shoot

If your website is something like bestpartyintown.org you’d better not disappoint.

Carnivale is a black tie event in Tulsa raising money for the Mental Health Association of Oklahoma (MHAOK). The organization works to combat homelessness and the stigmas associated with mental illness.

Tulsa-based TPC Studios is the creative force behind the Carnivale event and responsible for making sure the fundraiser lives up to its URL. This year’s Stars and Stripes-themed event is inspired by the World War II era. TPC put together a team to recreate the set of a celebrity USO Tour Press Conference featuring the MHAOK Chairs and Committee Members.

TL;DR – Basically it’s a big photoshoot for the main promotion imagery for a HUGE fundraiser/kick-arse party.

I’ve been on a couple of the Carnivale sets over the years filming BTS footage and interviews (2015 & 2016). This year I was able to join the team shooting “moving portrait” style footage that they’ll project on screens during the event. Cue the RED Weapon Helium shooting 99fps at a 6k widescreen resolution.
What I absolutely love about the Carnivale shoot is the creative team behind it. I’d highly encourage checking out and following this stew of creatives. Crazy thanks to Todd Pyland and Tony Li for letting me crash the party.
CREATIVE DIRECTORTodd Pyland
ART DIRECTOR/PRODUCER: Tony Li
PHOTOGRAPHER: Jeremy Charles
CINEMATOGRAPHER: me
CINEMATOGRAPHER (BTS & Interviews): Grant Sweetwood
SET DECORATOR & STYLIST: Stacy Suvino
WARDROBE STYLIST: Shannon Schroeder
HAIR & MAKEUP: Jordan Best
PHOTO ASSISTANTS: Sarah Eliza Roberts & Clay Flores

Have Gear, Will Travel

The travel side of what I get to do is honestly worth the uncertainties and stress that are also part of this work.

A couple months ago a client hit me up about a shoot in south Florida scheduled for mid-January. When possible, I’ll head out a day earlier on my own dime to take in being in a new place or city. I’ve already been to Florida, but I’m not about to say “No” to a beach and a chance to find another decent coffee shop. Thank goodness West Palm Beach didn’t let me down.

It’s still slow season at the moment and every dollar counts, so I booked a cheap room for the night, got a rental car for less than it would have cost to pay for a ride share or taxi, and ate dinner at the United Club during a layover.

It's worth the effort to commit to one airline and take advantage of the perks. Years ago a DP buddy of mine got me hooked on United Airlines and I’ve not looked back. At this point, I'm not flying enough to get club membership via elite status, so I pay roughly $450/year in membership fees for a United MileagePlus Club Visa card. It gets me Premiere status with easier check-ins, earlier boarding, and two free checked bags on each flight, as well as United Club access. The two free checked bags perk alone helps me save a crazy amount of money considering all the gear I travel with and more than covers that yearly membership fee. There are other perks too, but those are the main ones keeping me a loyal United customer.

I found a solid coffee shop in downtown West Palm Beach and after breakfast, I walked up and down the beach until my parking meter ran out. Before meeting the rest of the crew, I picked up some gear I’d rented from Lensrentals and had shipped to a local FedEx branch.

We scouted the first location that afternoon before heading back to the hotel for the night. I’ll typically have my Canon 5Dmk3 with me on scouts along with my iPhone. For sure I’d rather scout the location during the same time of day before the scheduled shoot, but that wasn’t an option. The Sun Seeker app let me know where the sun would be during our shoot and Artemis helped me make some shot choices by being able to plug in my camera, resolution, and lens choices.

The shoot itself went well the next day. The creative agency, Signal Factory, hired me out with my RED Weapon Helium package and CP.2 lens set. We used their Oconnor 1030Ds fluid head and sticks plus their Dana Dolly. For the Dana Dolly, Signal flew out with their setup and we bought two 10’ pipes from Home Depot near the location. They’d also rented some additional grip & electric but we didn’t end up using it – pretty bummed we didn’t even turn on the ARRI Sky Panels.

Signal Factory had also hired a couple local photogs to shoot stills and drone footage so we had to coordinate on set as needed. The client nixed the second location and we were able to get all we needed at the first.

We dumped footage back at the hotel, cleaned up, and went out for dinner. Our flights were stupid early the next morning, so it wasn’t going to be much of a late night.

One thing I plan to look into this year to try and make my life easier in airports is TSA PreCheck. In addition to my checked bags, I travel with two carry-ons: a larger backpack (personal items, 13" MacBook Pro, and iPad) and a roller bag for my "must-have" camera gear (camera bodies and lenses). I always carry on my main camera gear just in case a checked bag gets lost. Clients are spending good money on me and my travel expenses, so it does them no good for me to show up to a travel job without my gear – it's happened before.

TSA typically freaks out at having to check all my gear during security screenings. There have been more security measure updates recently and when I was leaving Oklahoma City, the TSA agents took out all my camera gear, batteries, and iPad to X-ray again without giving me a heads up. I understand their purpose is our safety, but experience has taught me they seem to have more to think about than how to properly handle camera gear. TSA PreCheck is something like $85, lasts five years, and because they've already done a background check, it helps get you through security much quicker. Their website mentions that “In December 2017, 93% of TSA PreCheck passengers waited less than 5 min.”

G-Zero World Puppet Regime

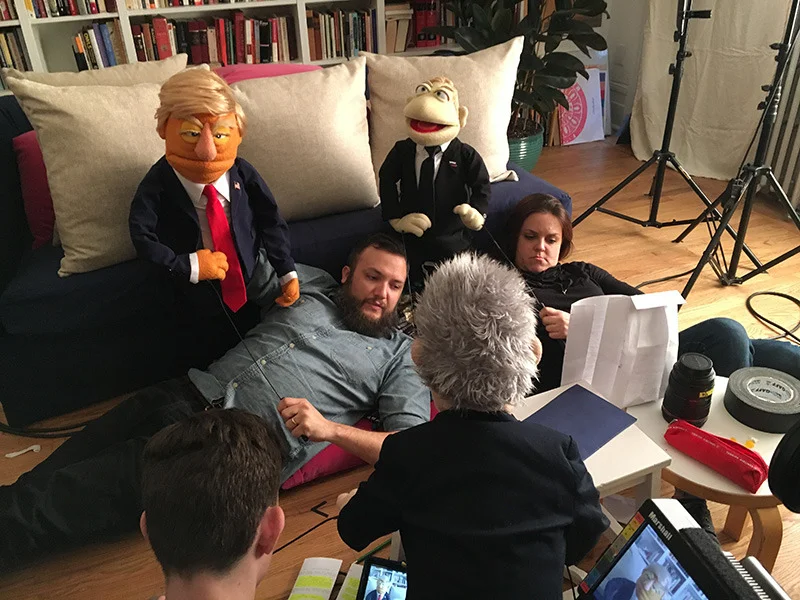
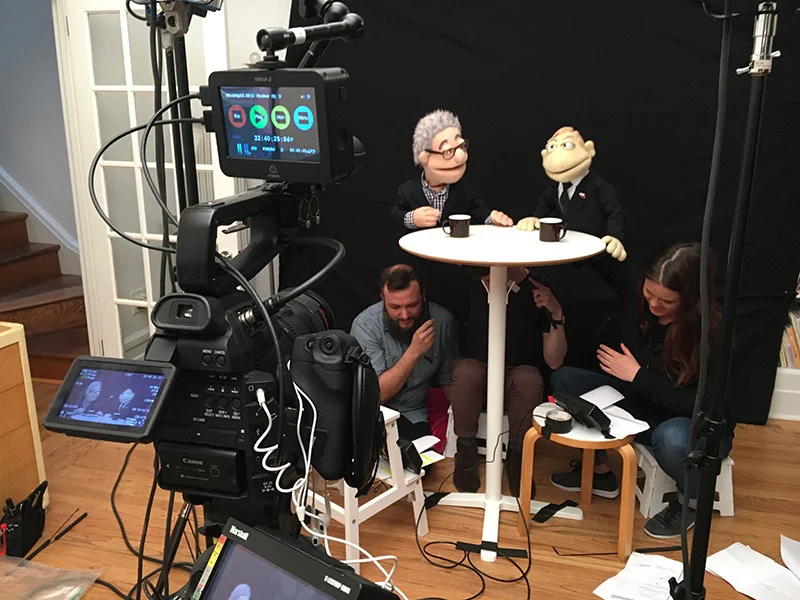
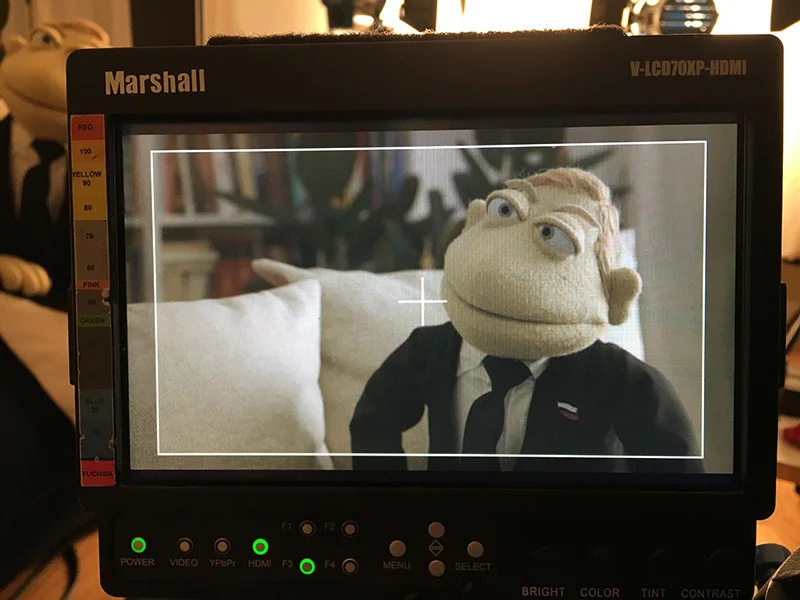
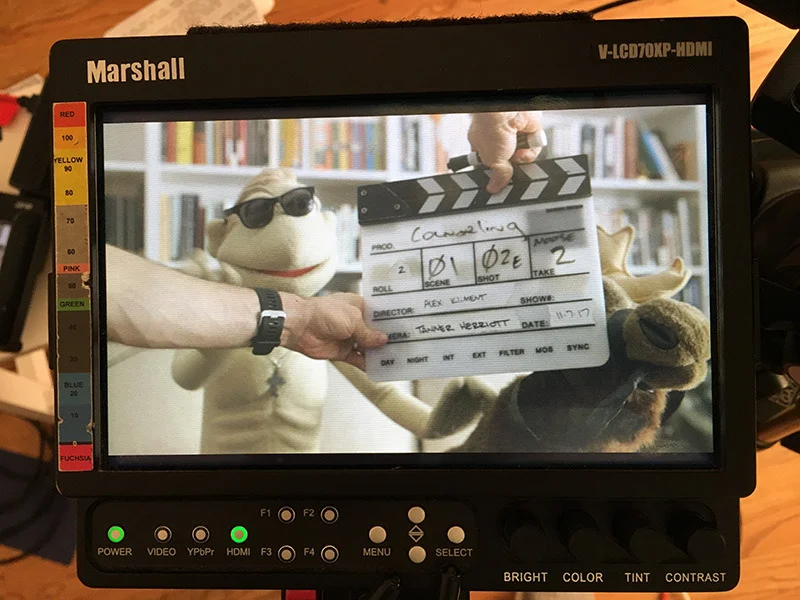
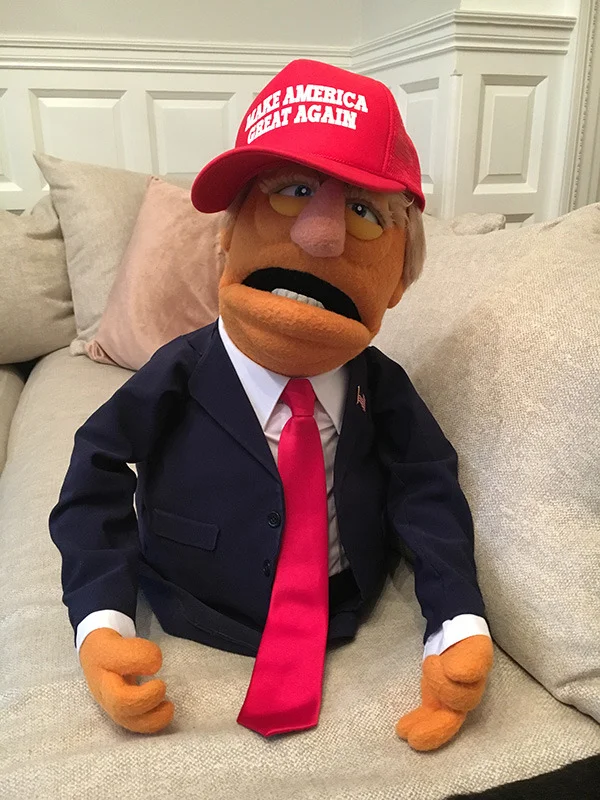
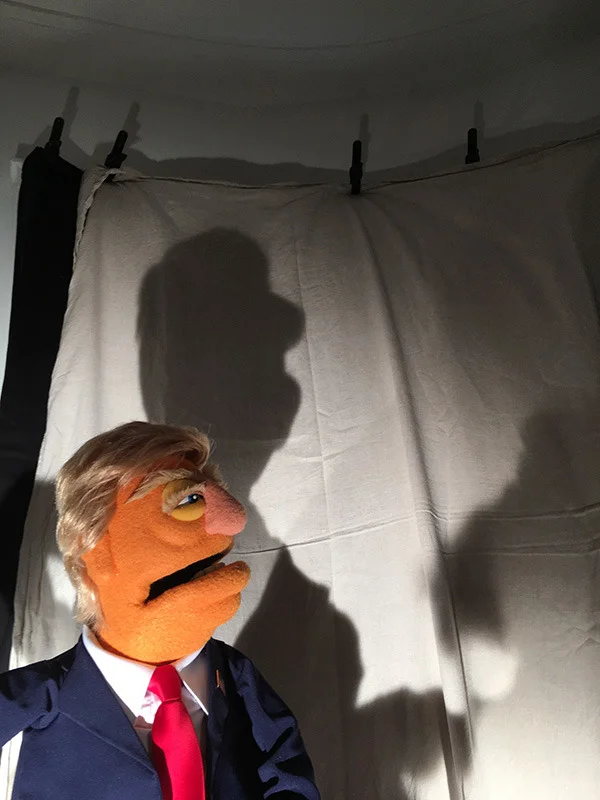
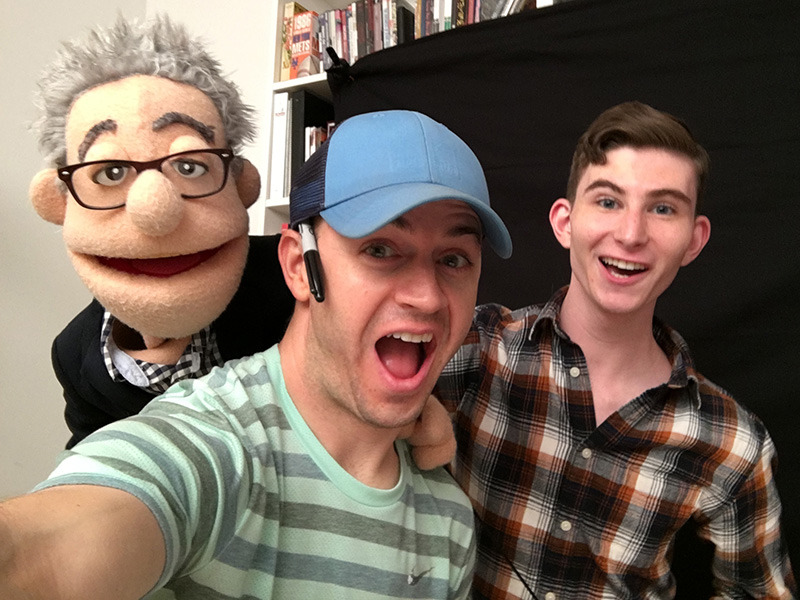
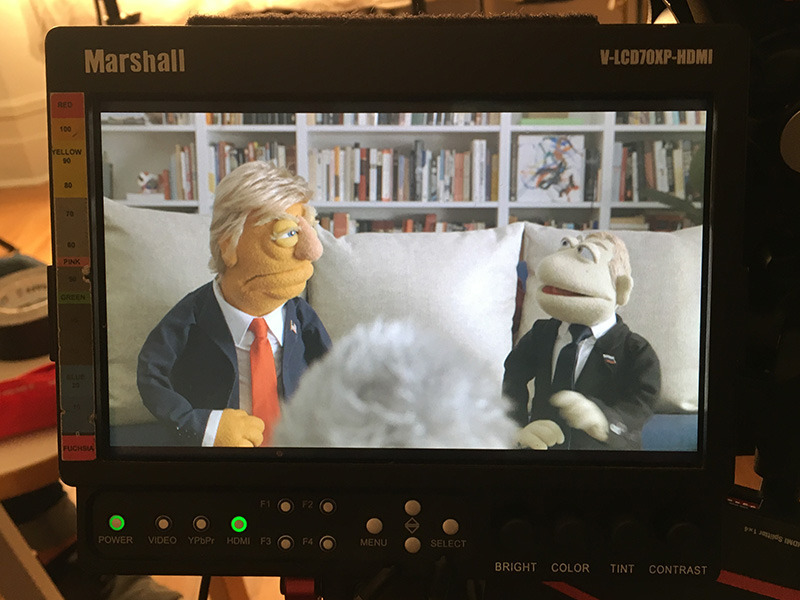
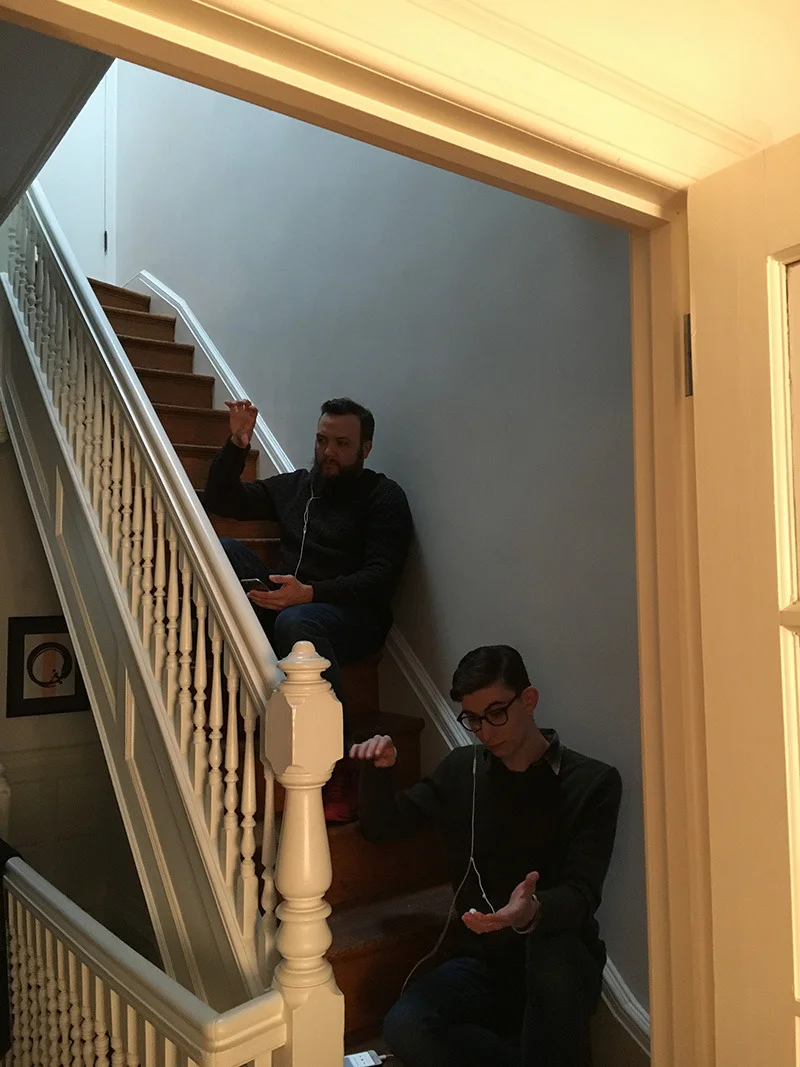
Behind the scenes from the November 2017 G-Zero World Puppet Regime shoot in New York. I'd never filmed with puppets in this capacity, so there was a bit of a learning curve. The pros I worked with on this one had done quite a bit of big-league TV puppet work already, so they were kind enough to keep me from looking like a fool. Thanks again to Lead Puppeteer David Bizzaro and Director Alex Kliment from Eurasia Group for having me.

tumblr_ozmnnxyIX81qz7lq1o7_1280.jpg

Interrotron Teleprompter Hack

Nerding out about finally using the iPad/iPhone/FaceTime/Teleprompter Interrotron hack I'd seen somewhere on the interwebs. We were doing another project for Central Oklahoma Habitat for Humanity and wanted the interviewee to look directly into the camera. That's easier said than done as most people would prefer to make eye contact as they're talking to another person and not lens. Honestly, it worked out much better than we expected.

In a nutshell, you're essentially having the on-camera talent look into the teleprompter and see the person they're speaking with via an iPad that's FaceTiming another iOS device – in our case an iPhone placed right behind the camera. ProTip: make sure you mute the iPads/iPhones being used so you don't get a feedback loop. If you're interested in the teleprompter I'm using, make sure to check out the 15" ProLine Plus by PrompterPeople.