"You could always make bike shorts if your idea doesn't work out."
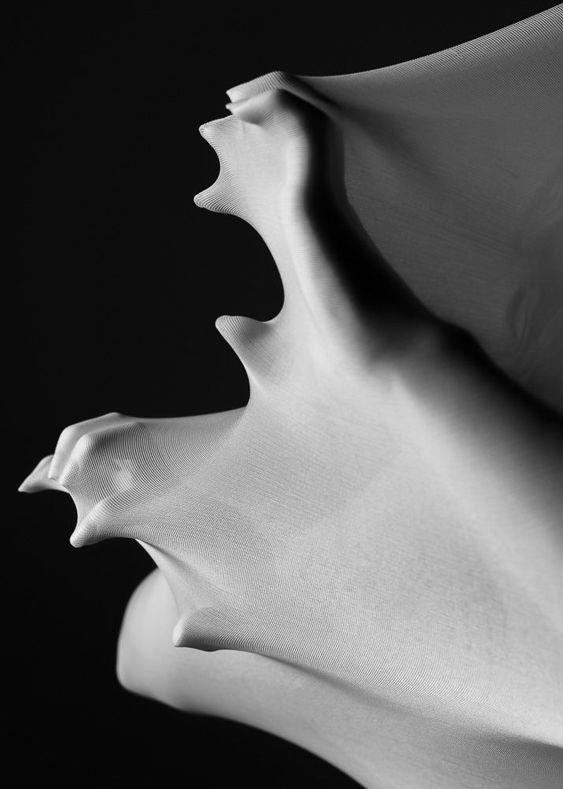
To the nice lady at the craft store who sold me a couple yards of Spandex: Thanks for not tripping out when I showed you some weird reference images on Pinterest and then asked me to come back later to show what I ended up making.
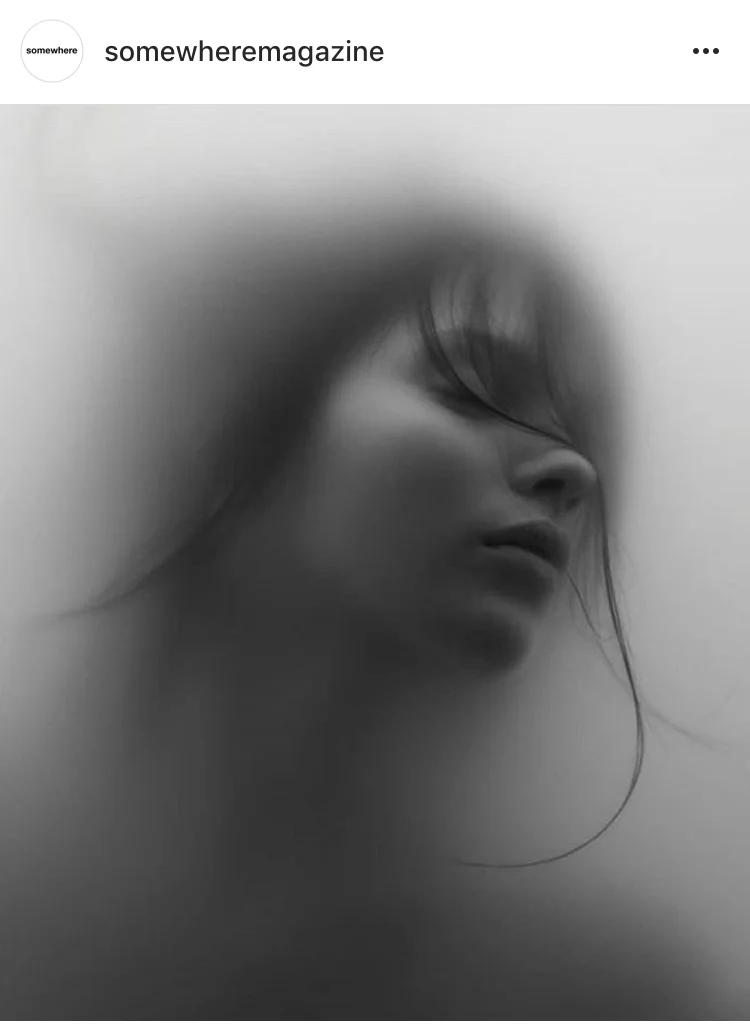
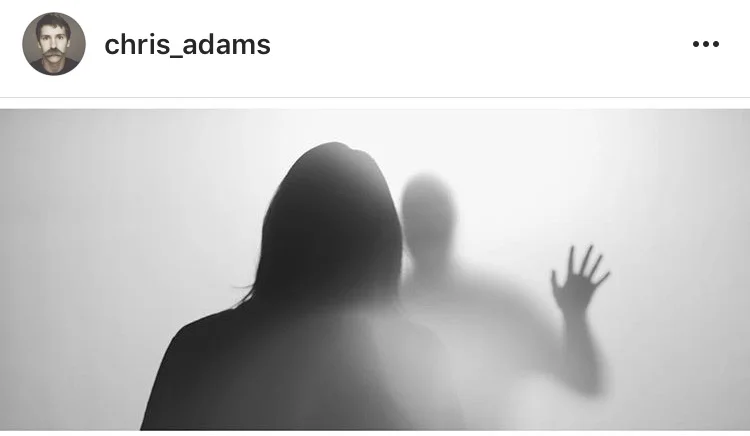
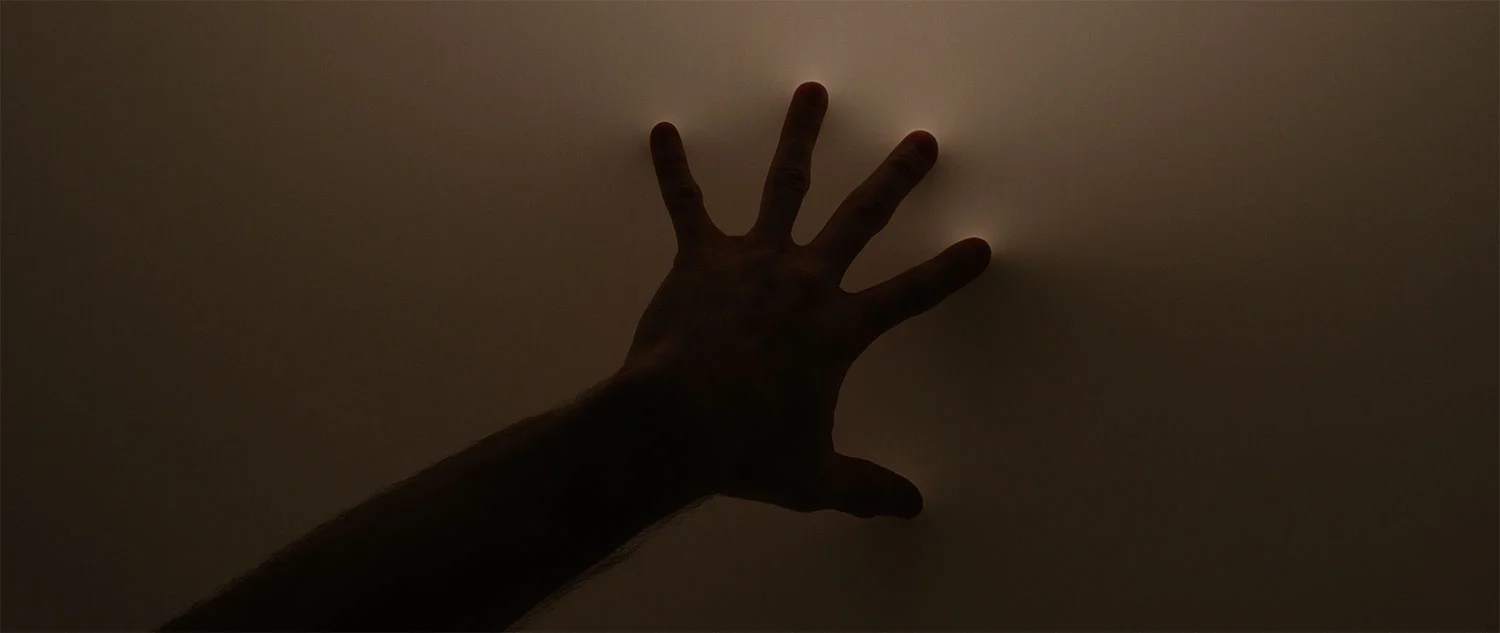
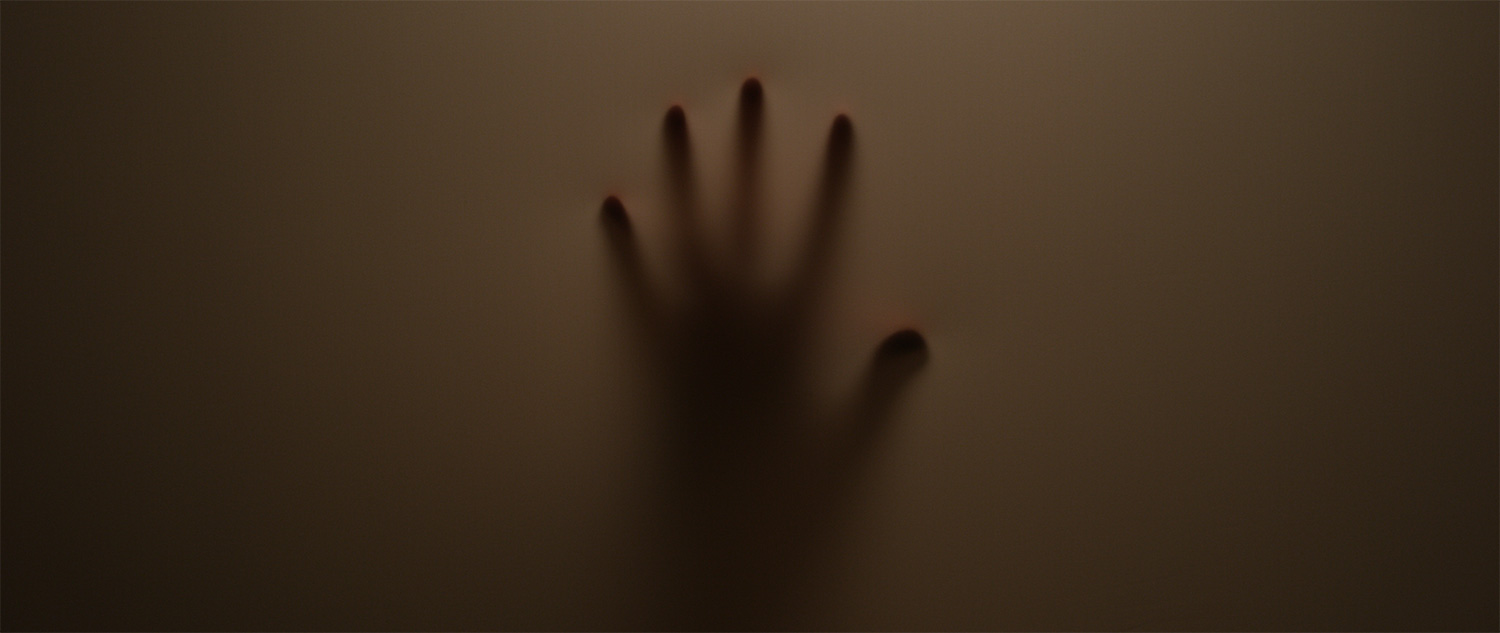
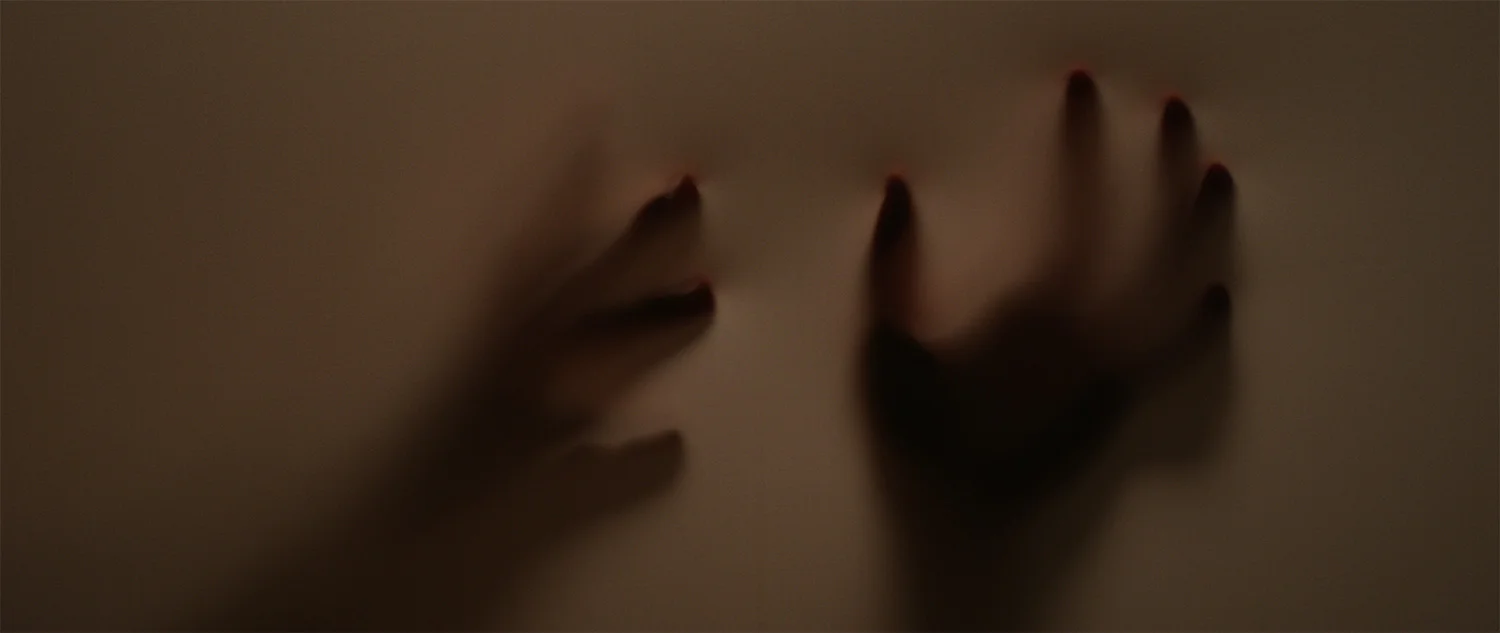
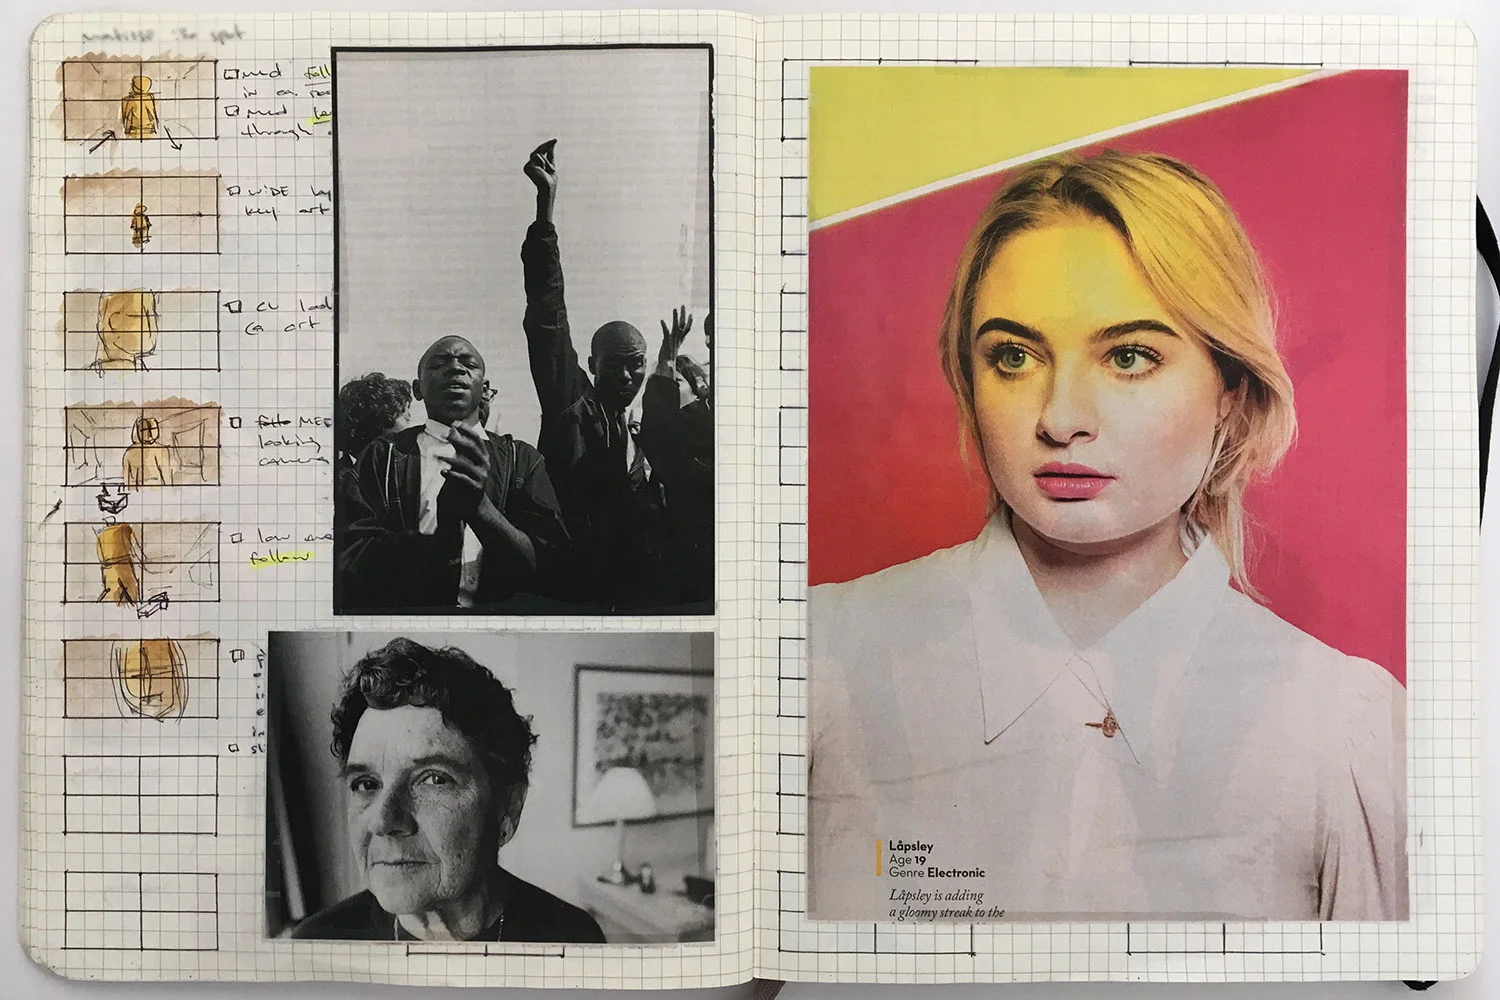
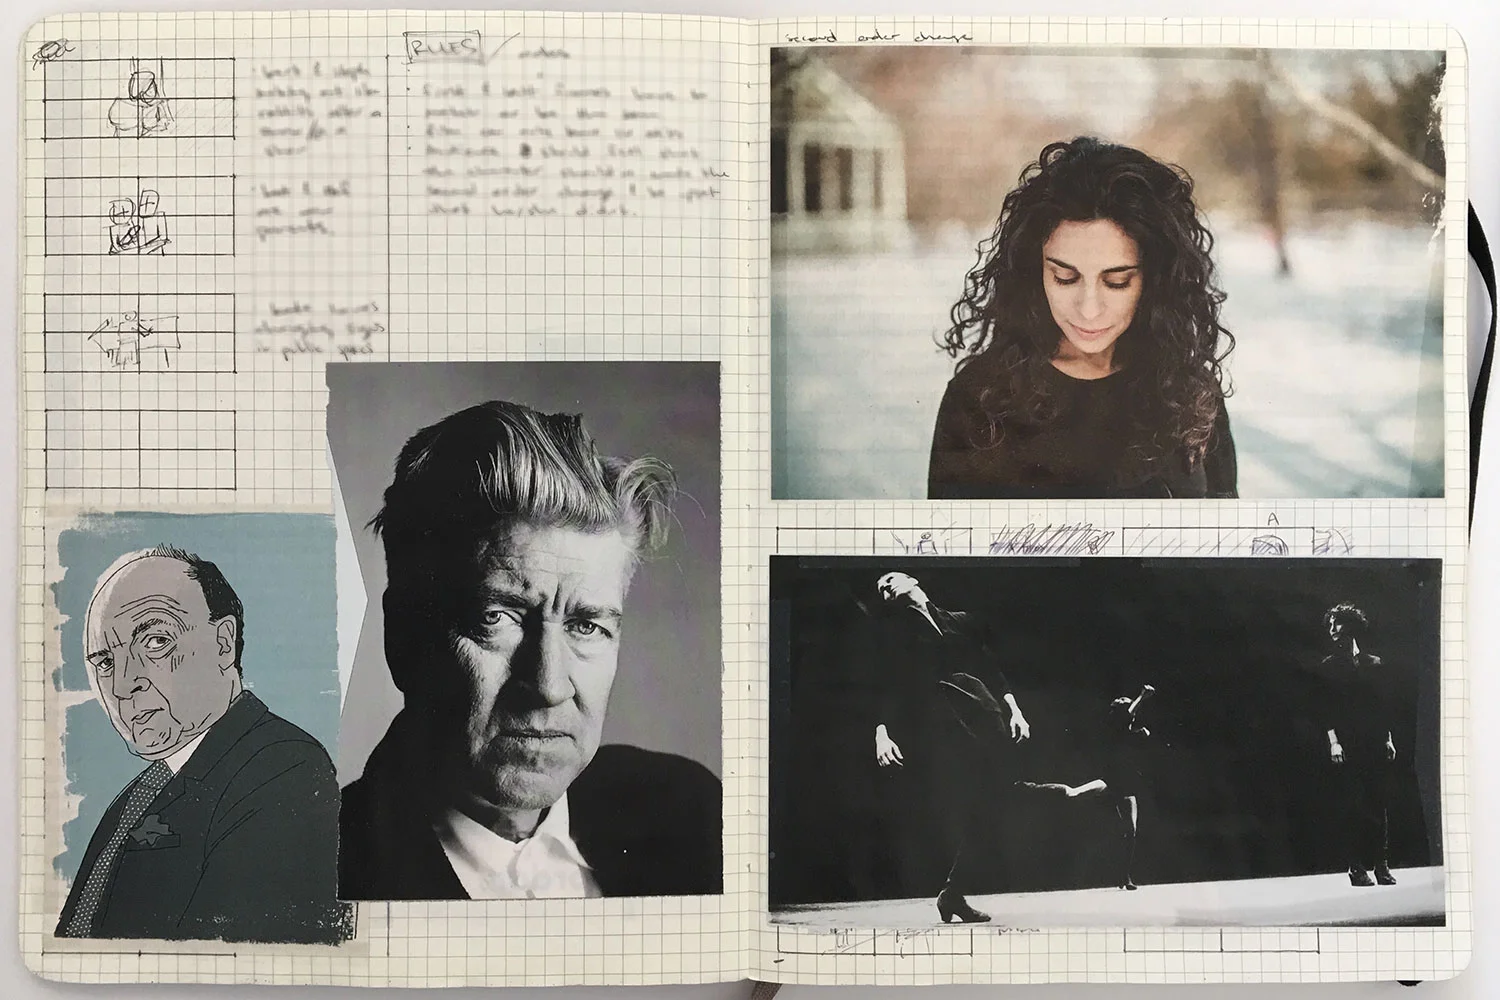
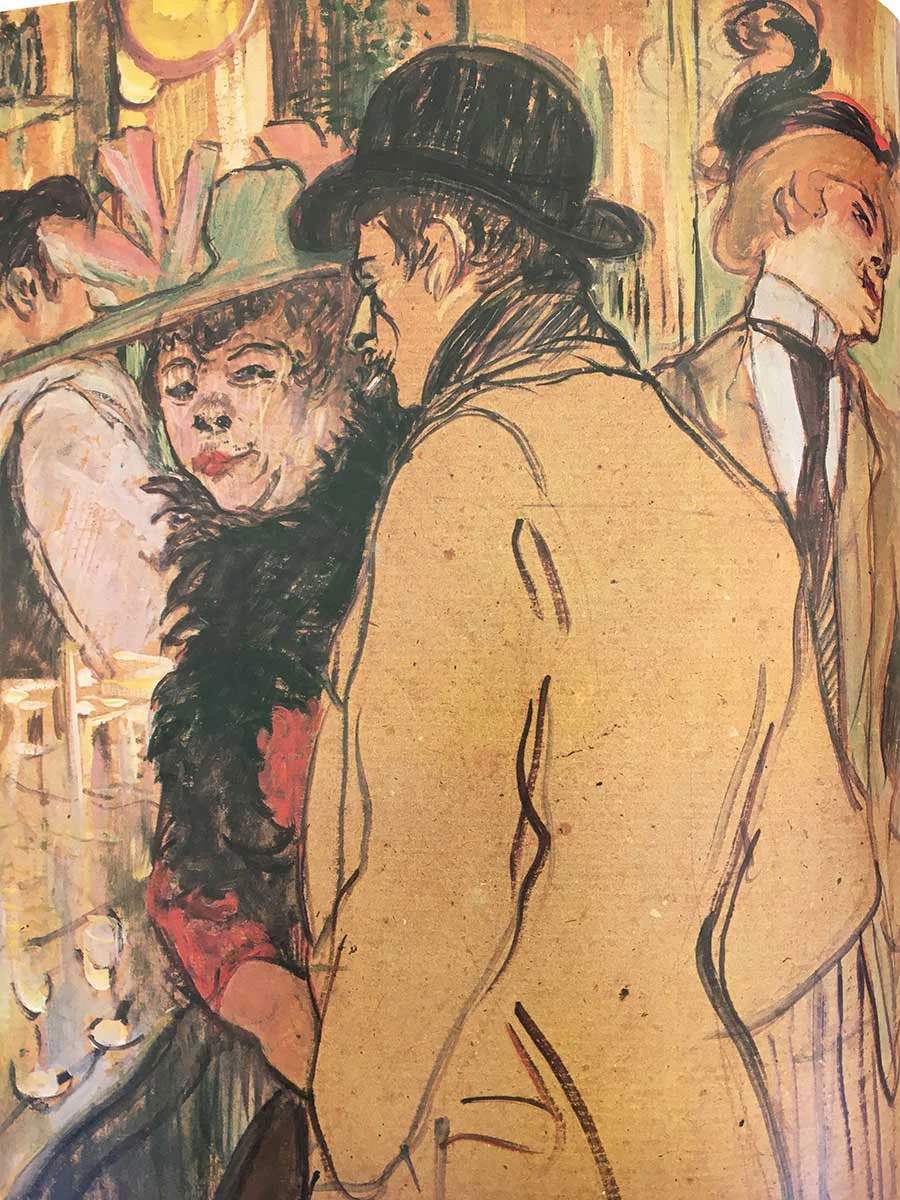
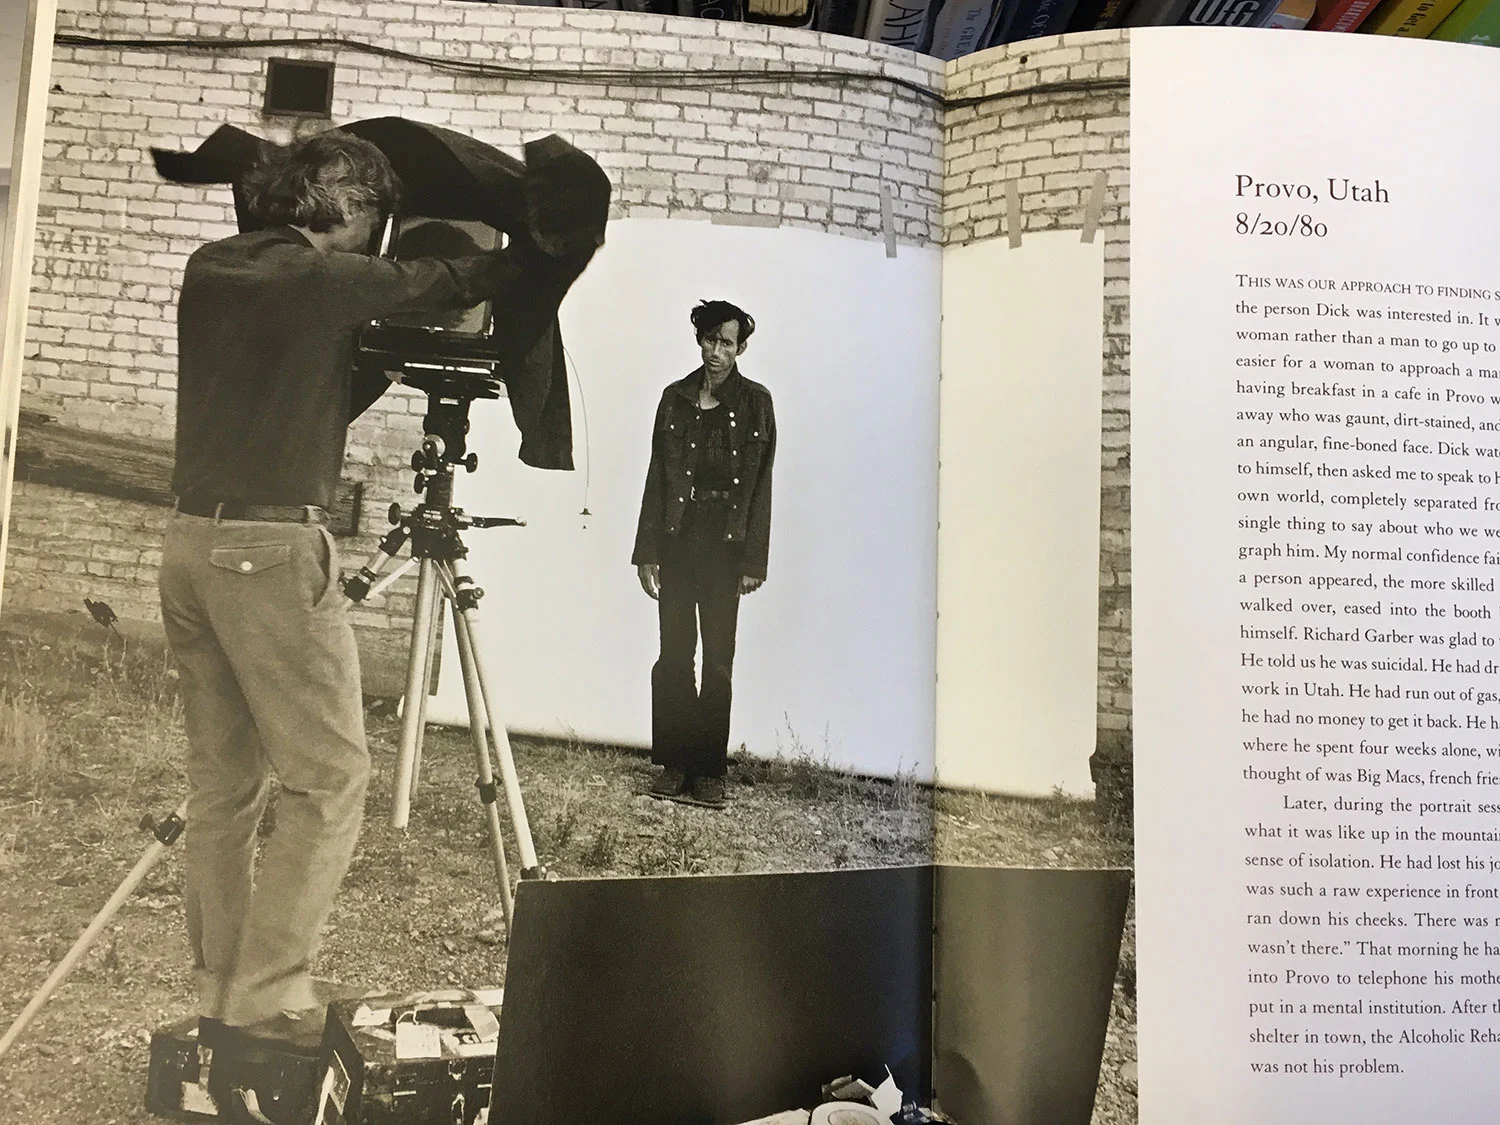
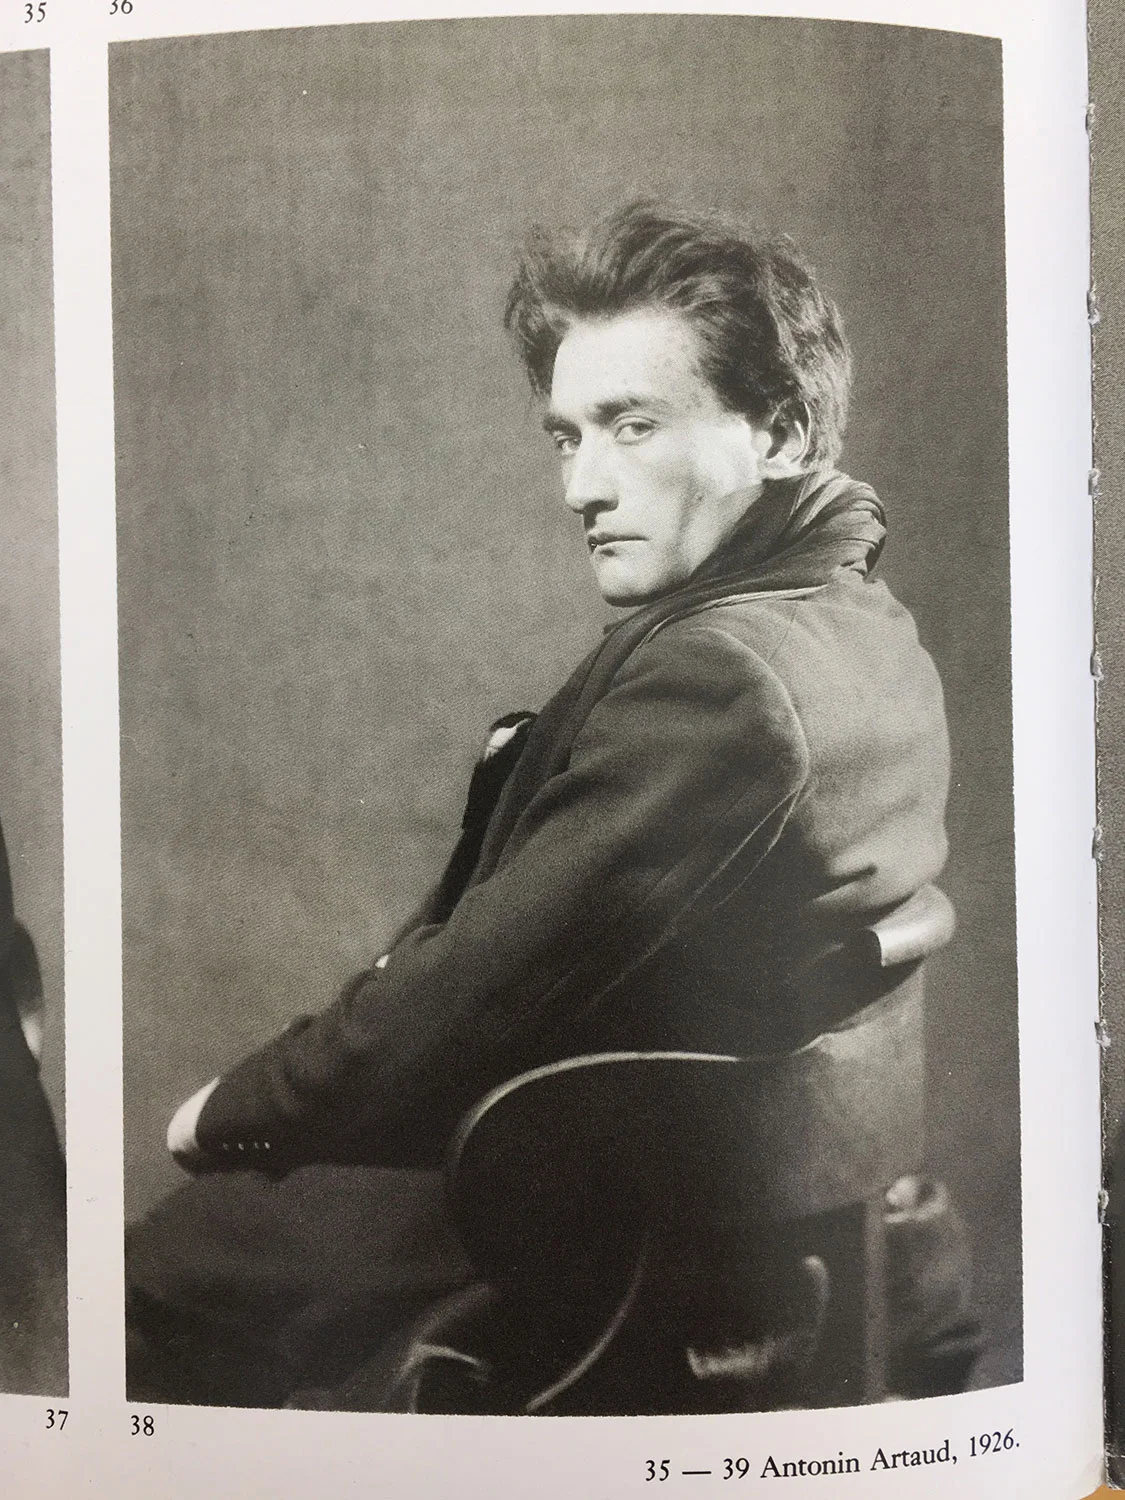
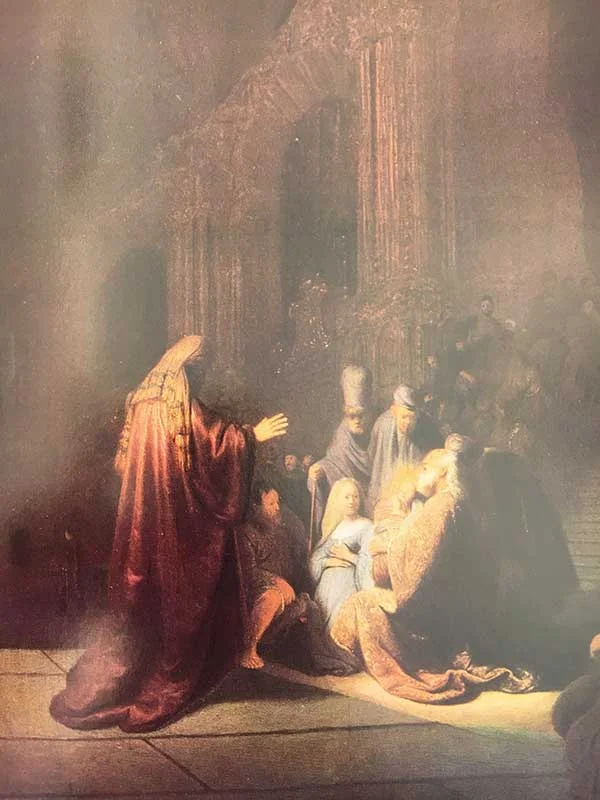
So yeah, this one went super dark and ghostly. Like the way these things normally start off, I'd been sitting on a handful of reference images and used them as a starting point to make something; I'm suuuper interested in selective focus and in-camera effects.
Footage from this film is available for licensing over at Filmsupply.
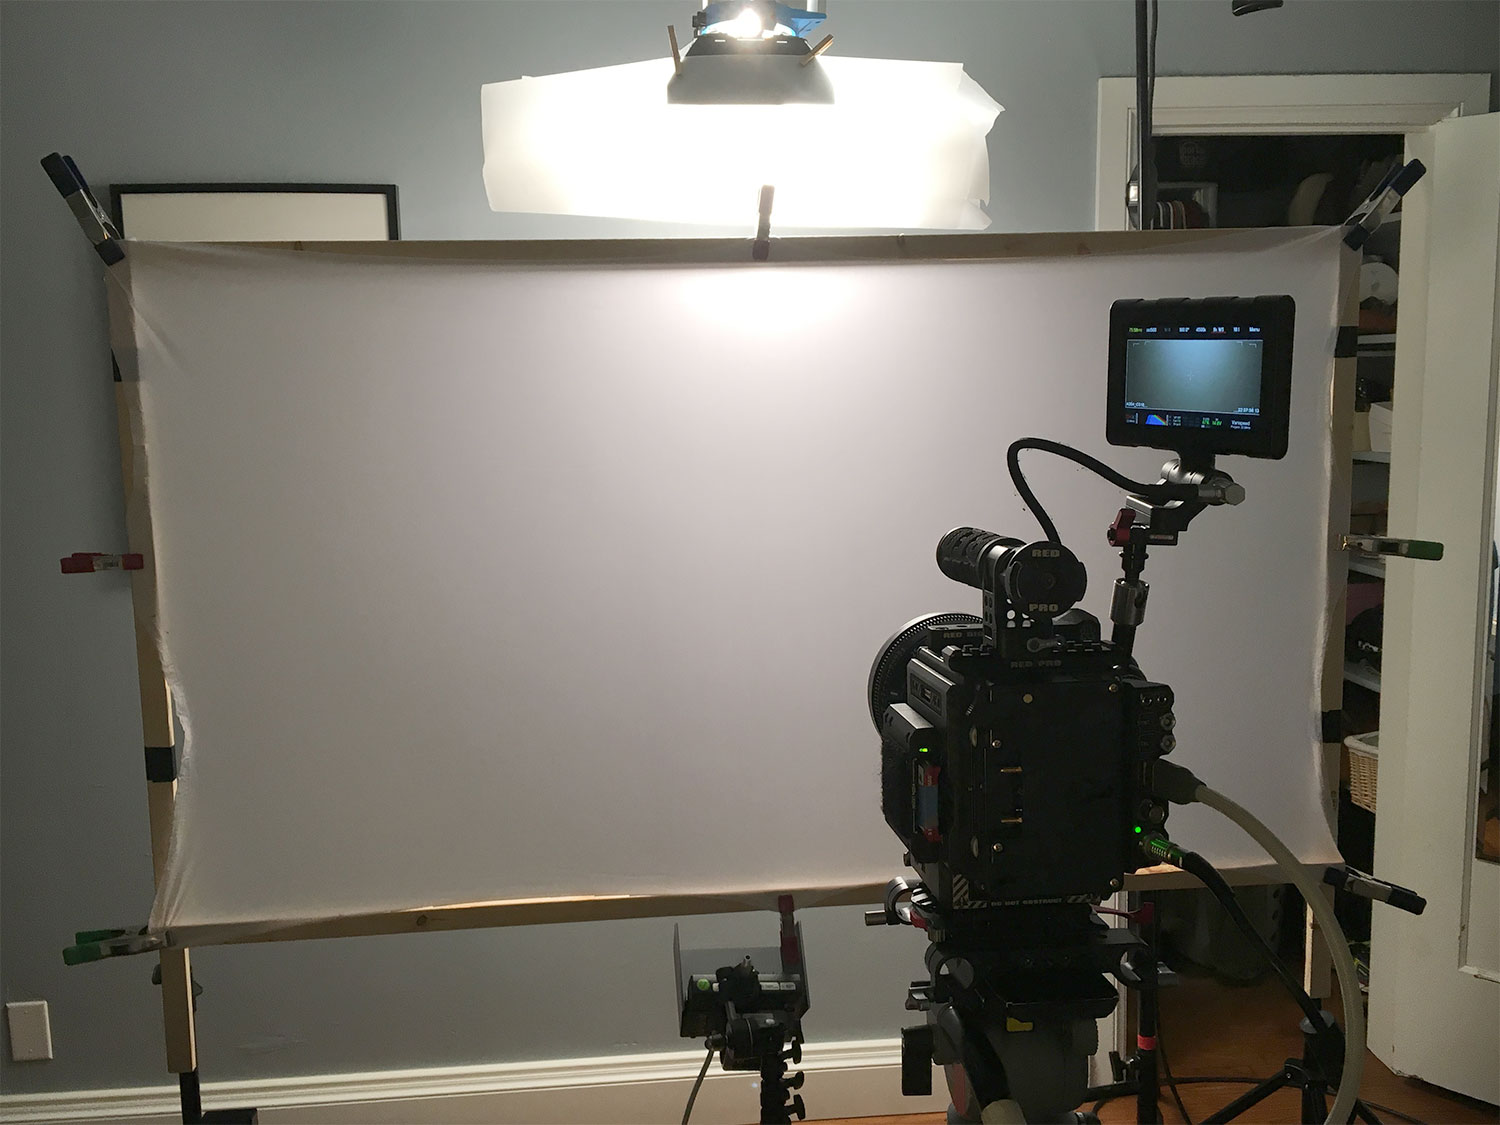
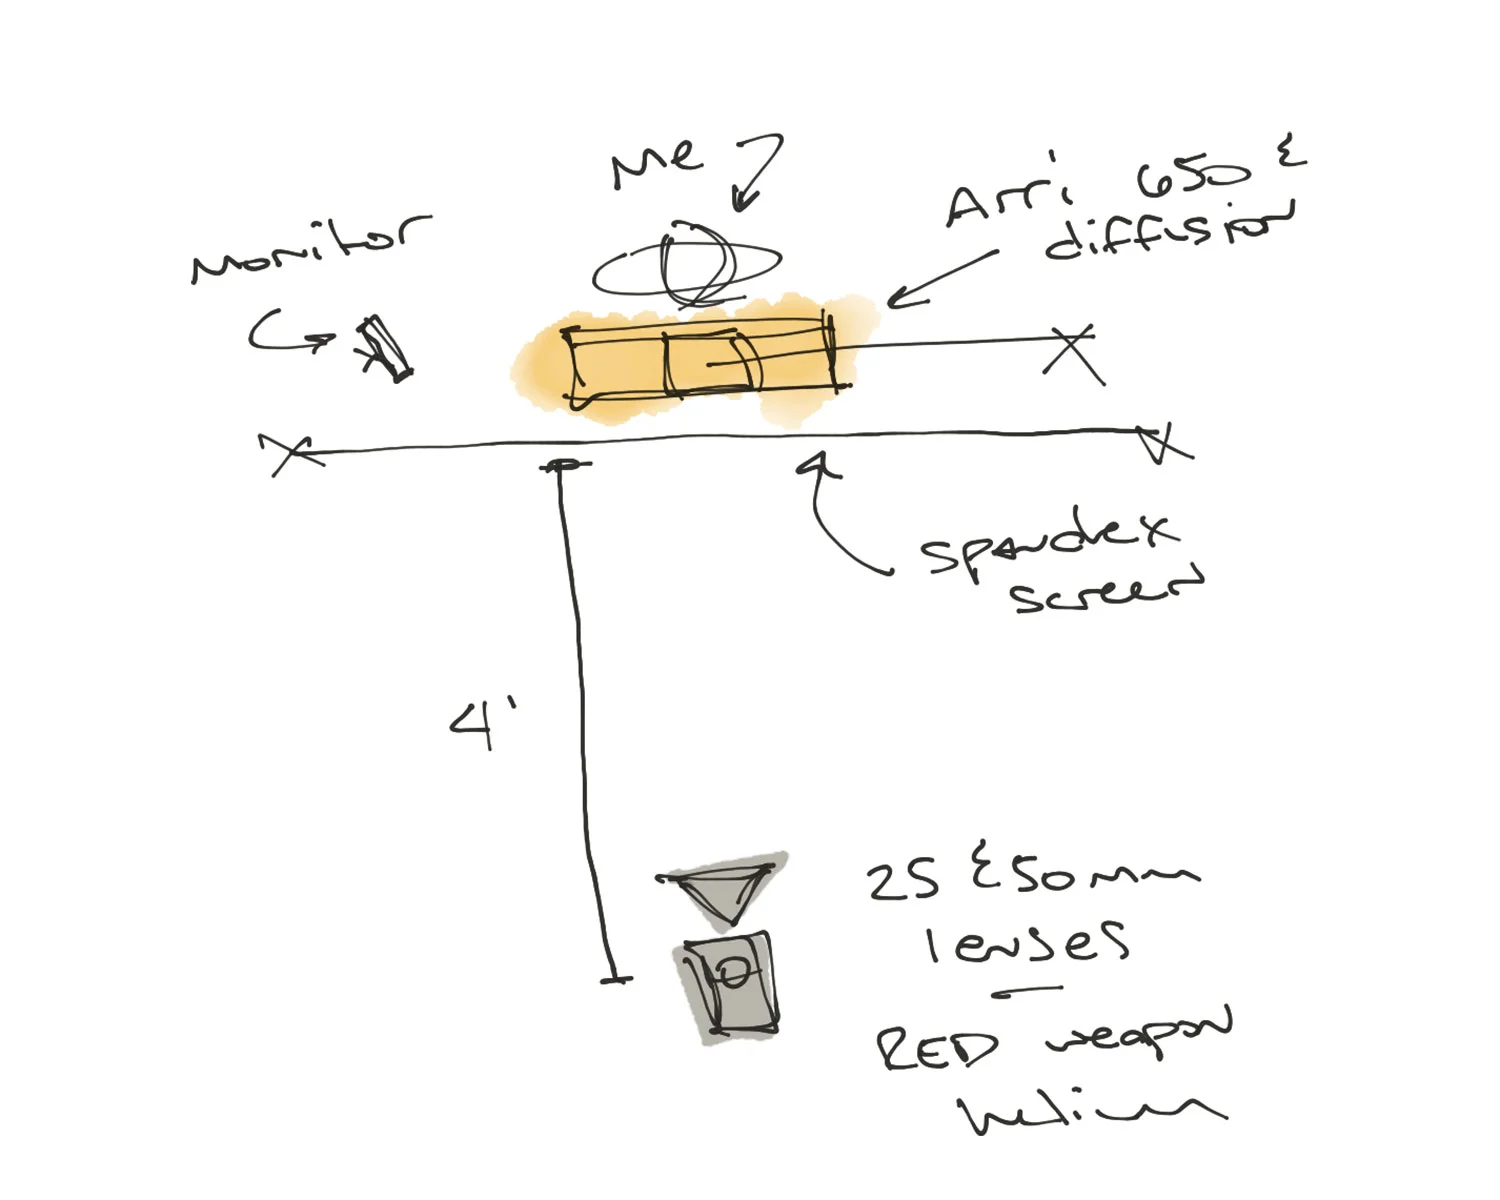
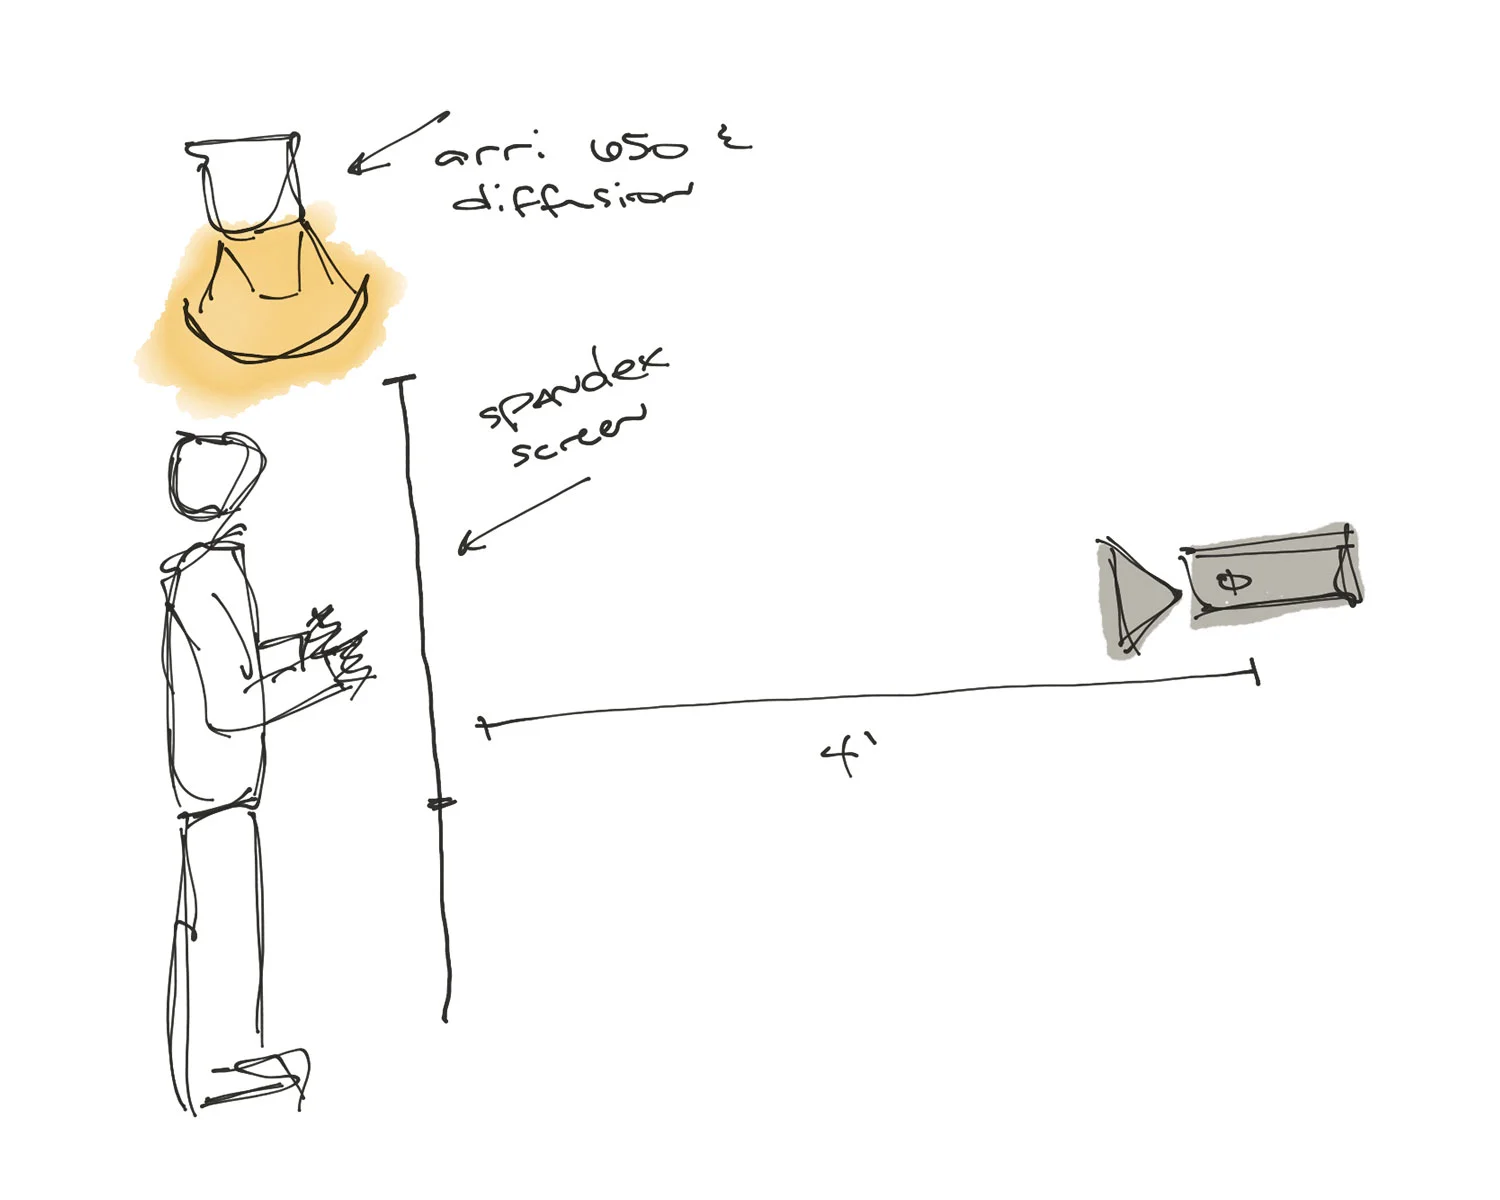
The internet told me I'd need to shoot through some kind of transparent layer, so I started experimenting with different types of plastic diffusion and fabrics. I was looking for something translucent that would look interesting on camera when you touched it. A trip to an arts and crafts store had me finding a couple different types of Spandex that were on sale. Figured I'd need a frame to stretch the fabric to keep it taught, so it was off to Home Depot to spend like $3 on two 1" x .5" x 8' pieces of cheap lumber. I used screws to keep the pieces together and attached the Spandex using spring clips.
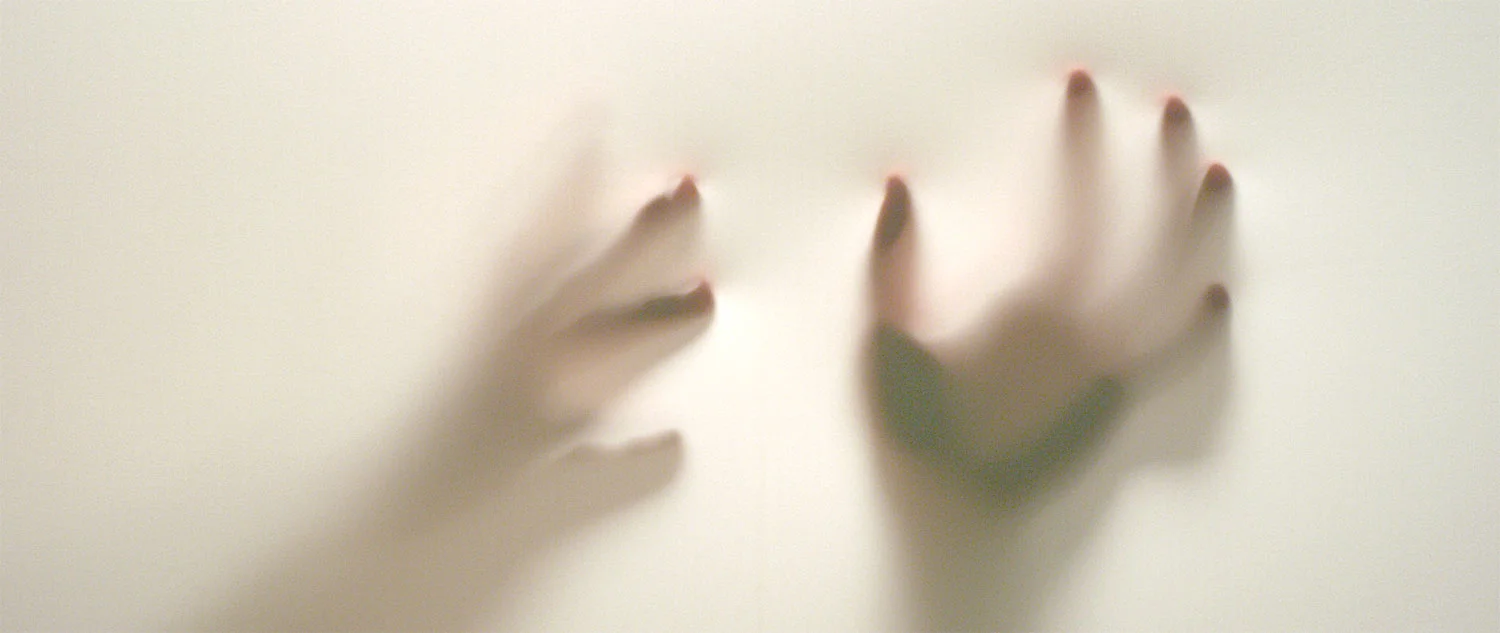
Once I got the framed fabric and my camera set up, it took a bit of experimenting before I finally landed on a look. I'd bought both white and black versions of Spandex and tried out each one individually as well as layering them. The white looked more interesting with the lighting and how the shadows worked. Having the black layered behind the white kept the setup from being translucent.
Initially, I had the lighting setup on camera right with no diffusion and in front of the fabric. That made for some interesting-looking long shadows on camera as I touched the Spandex screen, but wasn't the look I wanted. With how I pictured the edit and knowing I'd never be able to reproduce the light-to-dark gradient across the screen, I moved the light above the frame but still front-lighting the fabric. Most of the reference images I had were backlit, but I wasn't able to reproduce that look with how small a space I was using. Moving the overhead light just behind the fabric worked for the space I had and gave me the look I wanted. I didn't use any of the footage with my hands in front of the backlit fabric, but it still made for some interesting-looking imagery as the light interacted with the fabric stretching the other direction.
A monitor tethered to the camera allowed me to see what I was doing as I was interacting with the fabric. The initial imagery I was getting looked super dark and ghostly and reminded me of a Nine Inch Nails track I'd heard from an interview with Trent Reznor and Atticus Ross on the Song Exploder podcast – I'd highly recommend checking it out if you've not heard it already.
The initial test footage was shot at 48 frames/second but was still too fast for the look I wanted. 60 frames/second didn't work either, so I lowered my camera resolution from 8k to 6k widescreen so I could get to 99.9 frames/second on my RED Weapon Helium. The movement speed looked right, but I ran into flicker issues with the lighting and 180° shutter. The FLICKERfree iPhone app fixed that by letting me know I needed a 299.7° shutter angle. Thanks internet...
Another unexpected result from the testing was how flexible the look was once I got it into post – obviously though working with a high-end camera and raw .r3d files doesn't hurt. My reference images were black and white, but after experimenting with different color temperatures I again fell in love with shooting with tungsten lighting on a white background at 4500k. Neither the blacks nor whites were being clipped in the raw .r3d files so there was still all the color information to use in post. I kept the in-camera dark and ghostly look for this edit and didn't do any color correction or grading, but can easily imagine other possibilities with this footage.
